Understitching: an essential technique for linings
Learn how to understitch to prevent linings from peaking out of your lined garments!
Get 30% off your first purchase ⬇️
Subscribe to the newsletter!


Learn how to understitch to prevent linings from peaking out of your lined garments!
If you’ve ever sewn a neckline or facing that just won’t stay neatly in place, understitching might be the missing step in your sewing process.
Whether you're just getting started with lined garments or have been sewing them for a while now, understitching truly is a non-negotiable! In this tutorial, I’ll break down what understitching is, why it matters, and exactly how to do it, step by step.
If you take a closer look at the lined RTW garments in your wardrobe you'll notice most of them are be understitched either at the neckline, the armholes or whenever two fabric layers meet and lay flat on top of each other!
And there's a good reason why: understitching is a sewing technique used to keep a facing or lining from rolling to the outside of your garment and giving the edge more structure. Skipping it may give your garment a "home-made" look, and not the good kind!
A lot of commercial and indie sewing patterns don’t reference understitching, even though it can make a big difference in how polished your finished garment looks. If your pattern doesn’t mention it, it’s often worth adding the step yourself whenever you’re working with facings or linings.
Understitching is most commonly used when finishing:
Necklines and armholes with facings
Waistbands with inner facings or linings
Skirt and dress tops with all-in-one facings
Think of it as a behind-the-scenes detail that prevents visible linings and keeps your garment edges looking sharp. Unlike topstitching, understitching is done on the inside and isn’t visible from the right side of the garment.
For knit fabrics, understitching usually isn’t necessary because knits naturally stretch and roll less at seams, but if you’re using a stable knit with facings, you can apply a light understitch using a stretch stitch or twin needle to keep the facing in place.
1. Sew your facing to your garment
Align your facing and garment right sides together and sew along the edge you’re finishing (for example, the neckline). Use your regular seam allowance — 1/2" if you’re following a Sew Into That pattern.
2. Clip or notch curved edges (if needed)
If you’re understitching along a curve, clip (on inward curves) or notch (on outward curves) the seam allowance. This allows the fabric to relax and lie smoothly once turned.
4. Press the seam allowance toward the facing
Pressing is key! Press the seam allowance toward the facing side making sure both seam allowance layers are facing the same direction.
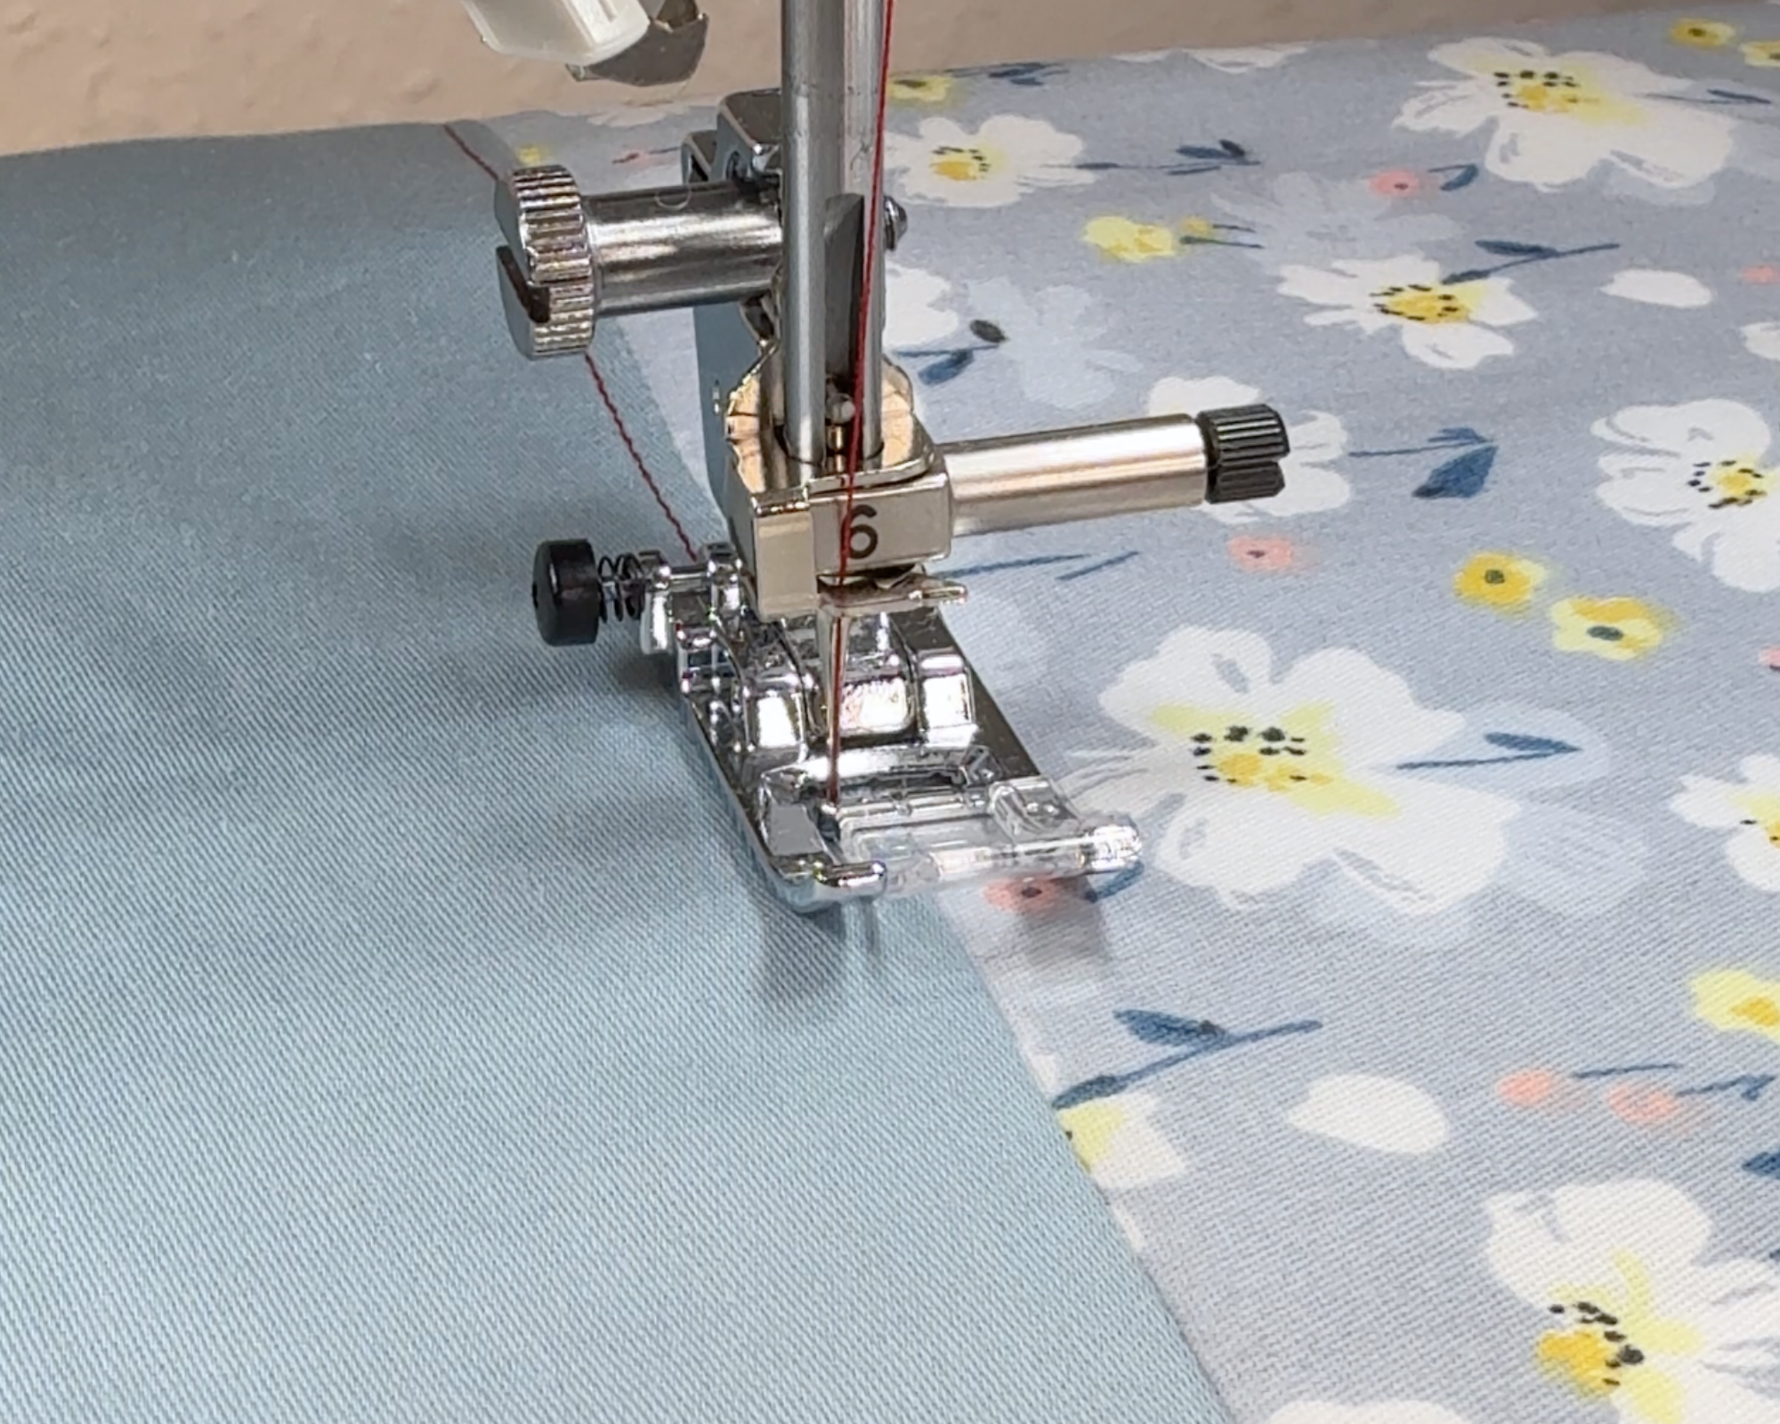
5. Stitch close to the seam line
With the facing side up, stitch about 1/8" (3mm) from the seam line, catching both the seam allowance and the facing underneath. Keep your stitch line consistent — this is what gives the facing that neat roll to the inside. For extra precision, you can use an edge joining foot (a really helpful addition to your sewing machine presser foot collection) to help guide your stitching evenly along the seam.

6. Press again
Turn your facing to the inside of the garment and give it a final press. The edge should look perfectly flat, with no lining or facing peeking out.
Skipping pressing: Each press sets the stitches and helps the fabric behave. Don’t rush through this part — pressing makes all the difference.
Not catching the seam allowance: Make sure you’re stitching through both the facing and the seam allowance; otherwise, the understitch won’t hold.
Getting puckers on curves: Clip or notch more generously and take your time sewing around tight curves.
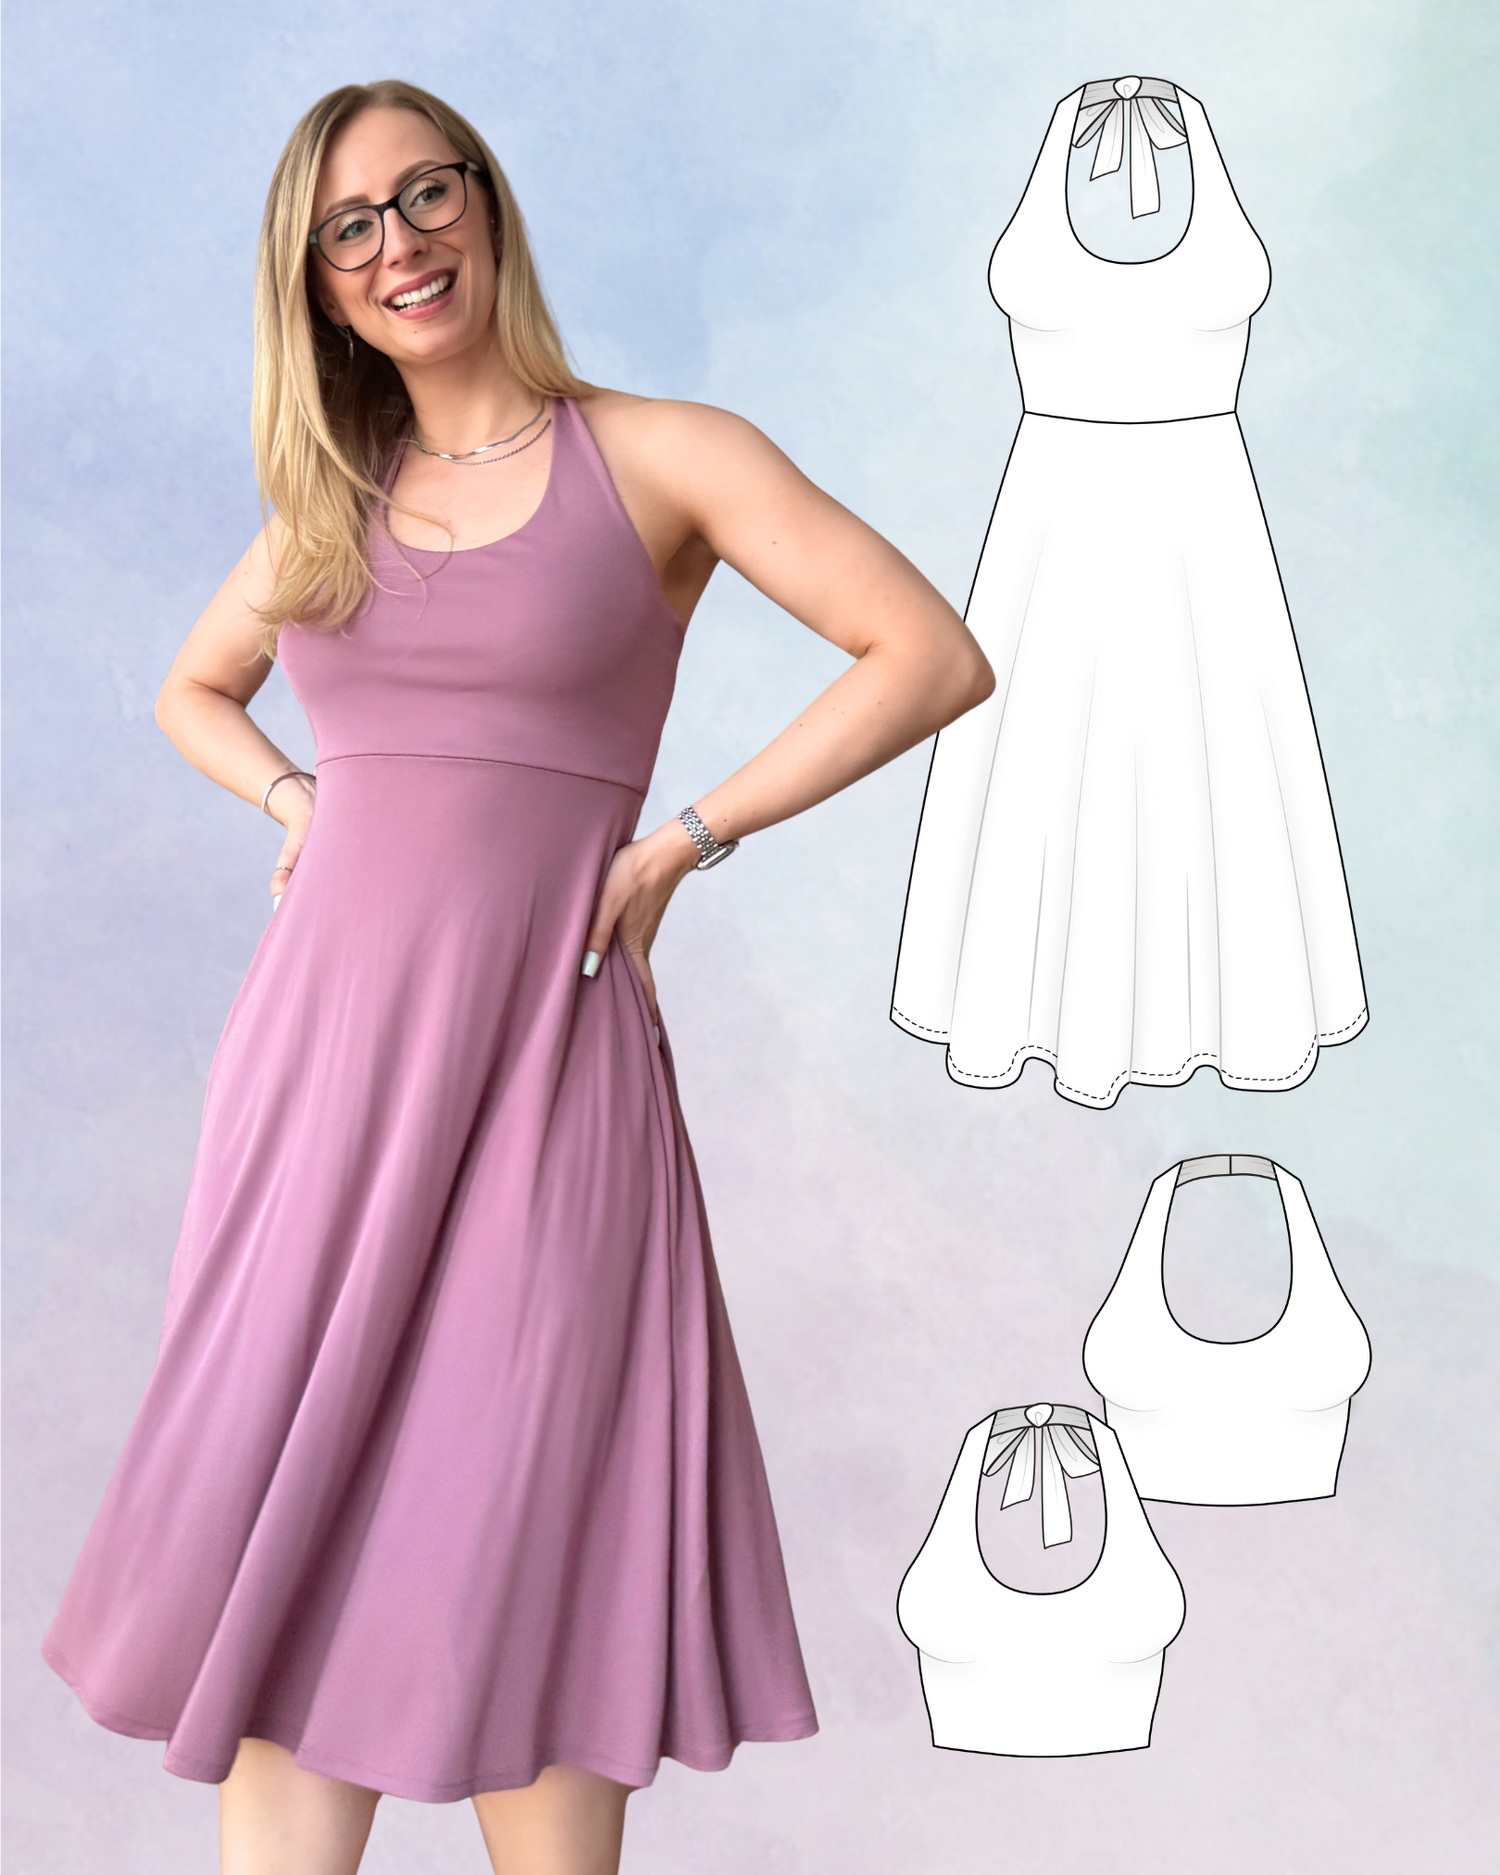
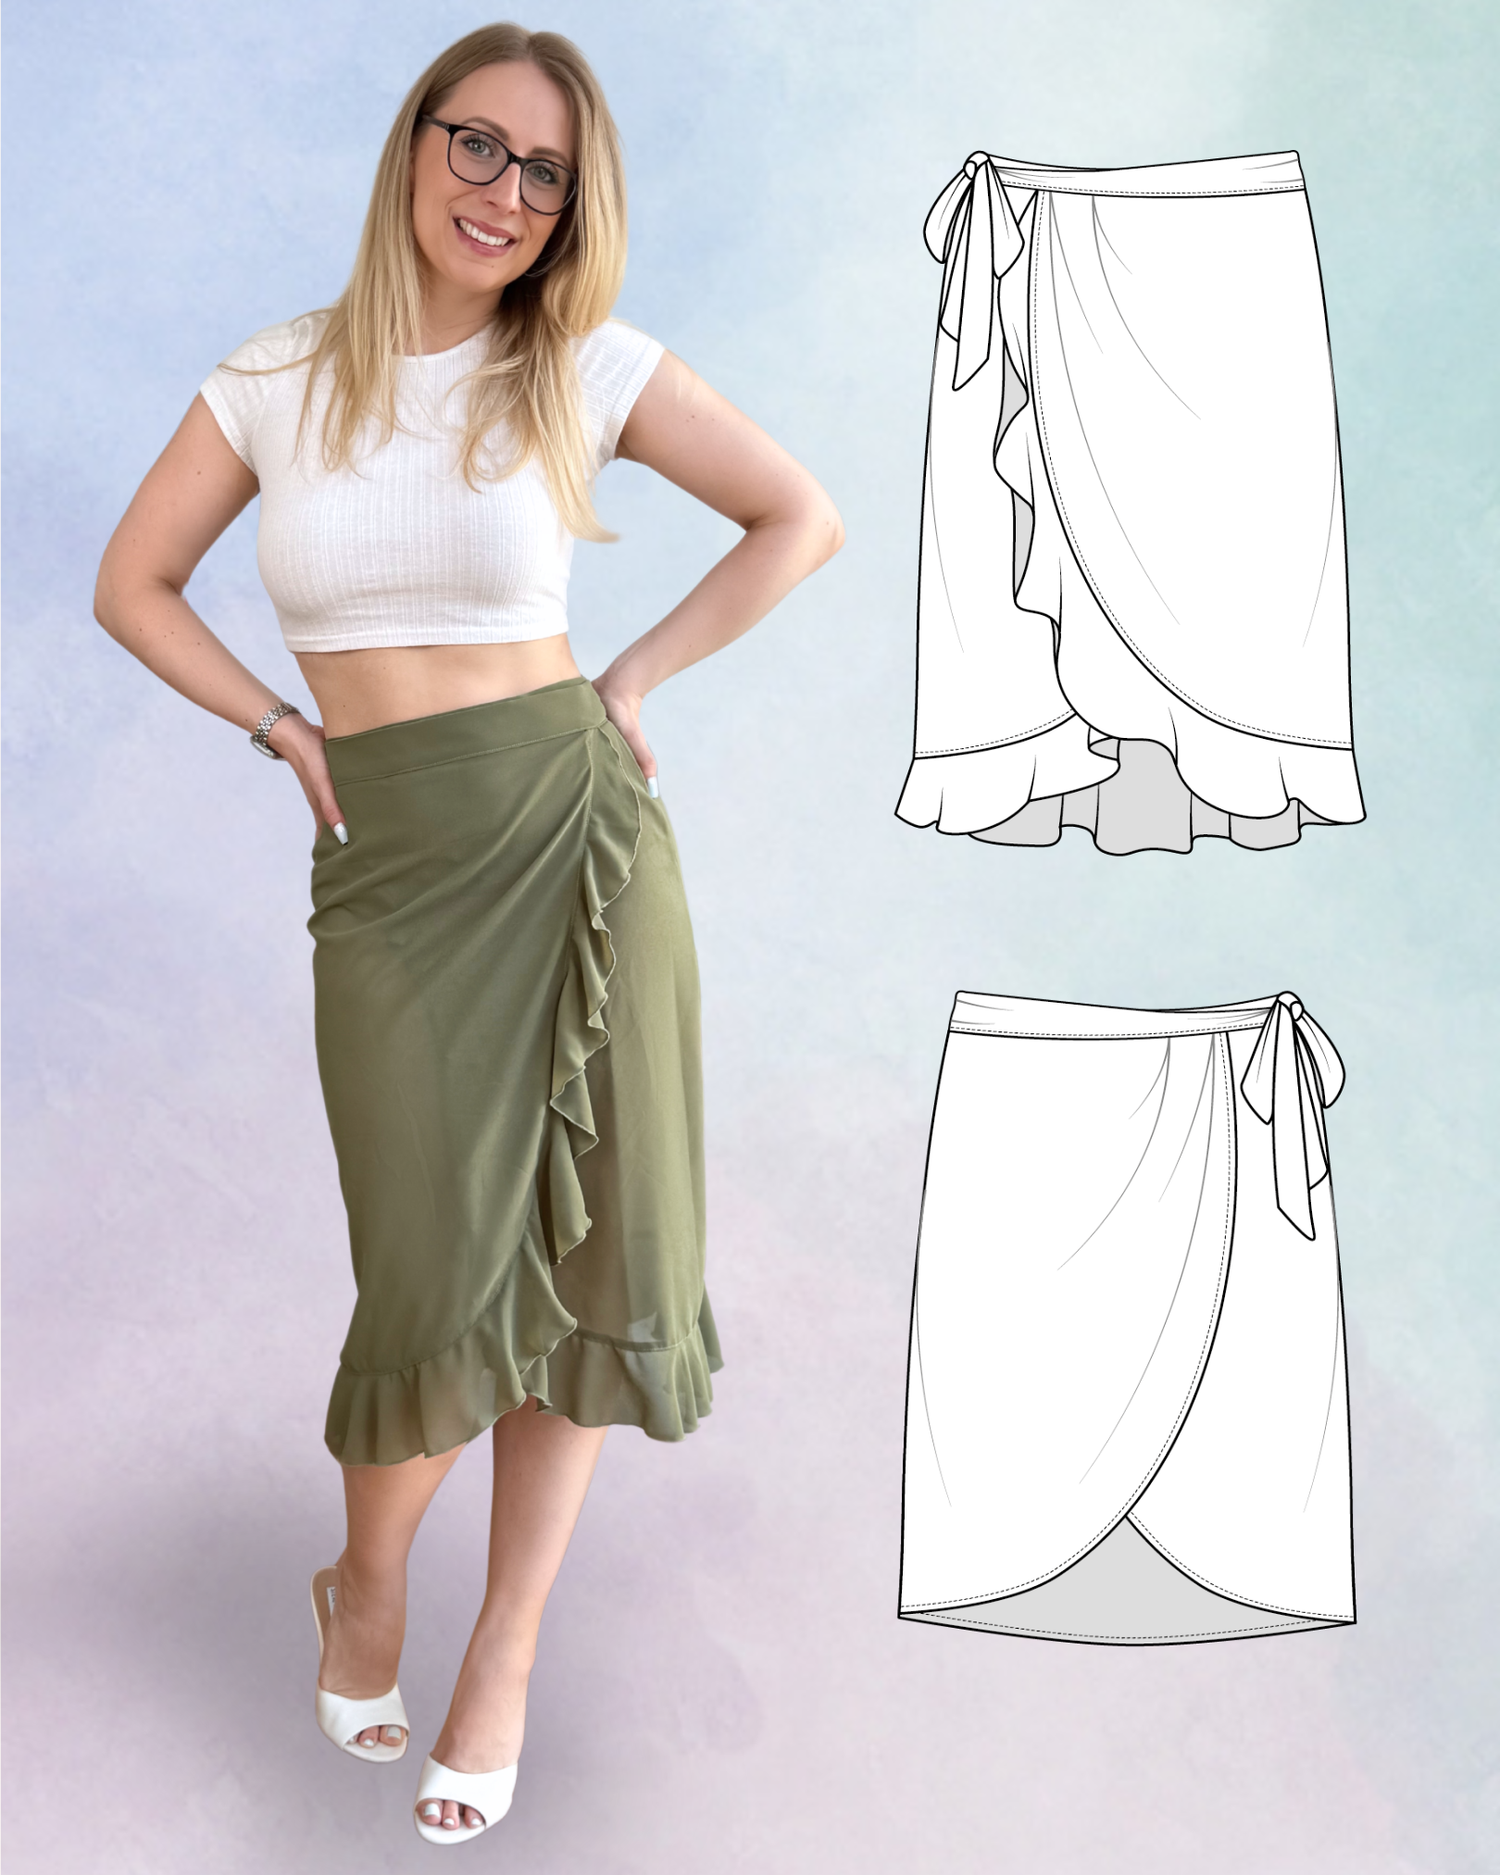
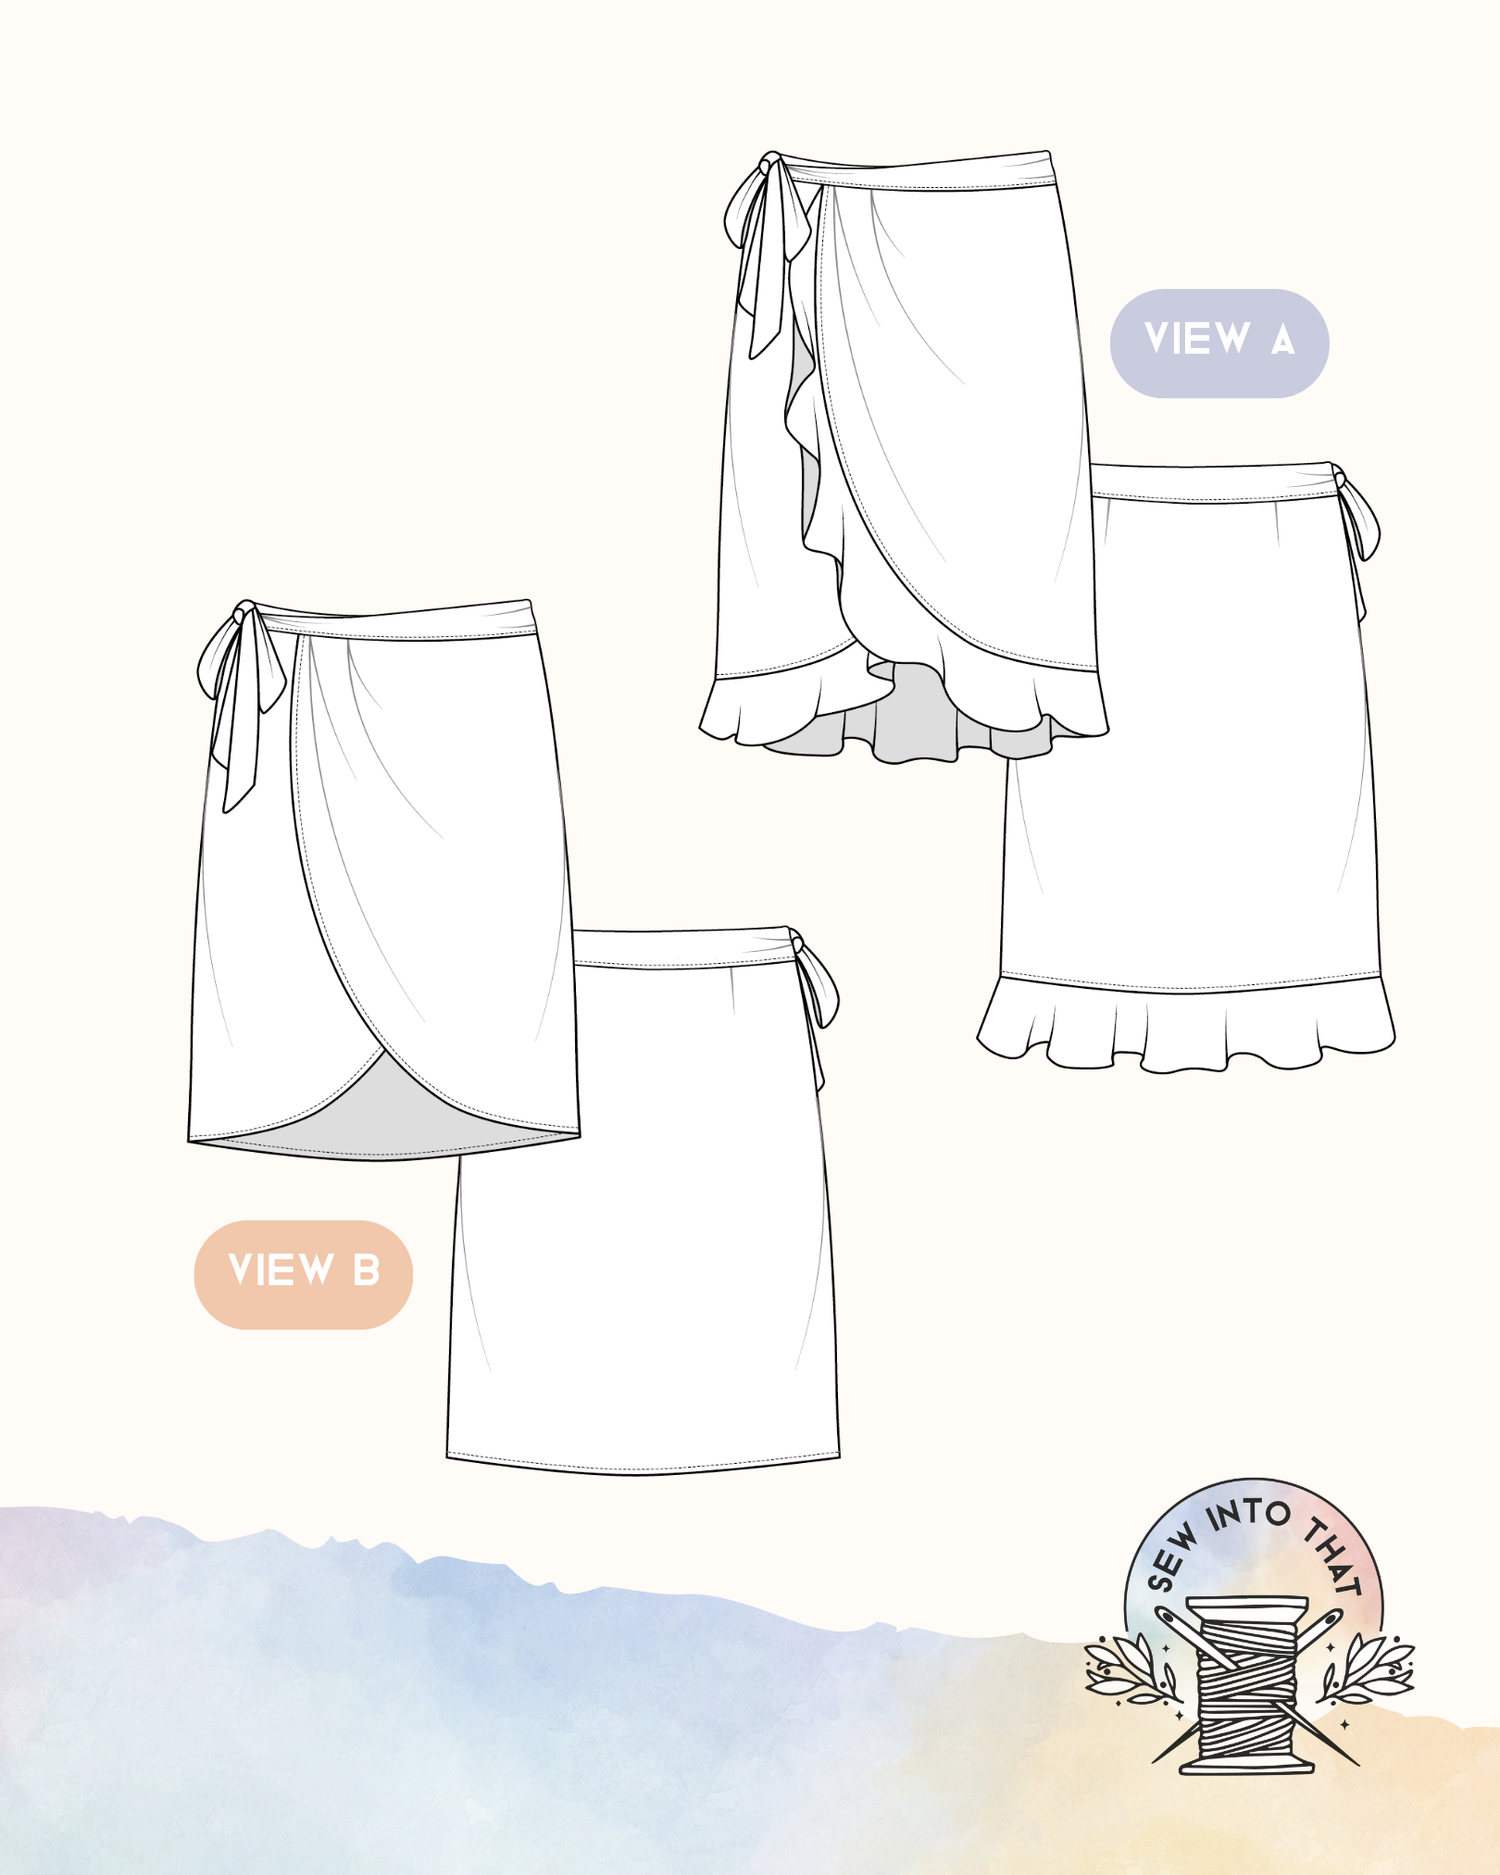
My Marbella Mini Skirt Sewing Pattern uses understitching to create a beautifull fully lined skirt with a clean waistband — guaranteed no lining peeking! It’s a perfect project to put your understitching skills into practice — and see firsthand how this little detail makes a big difference in the final look.
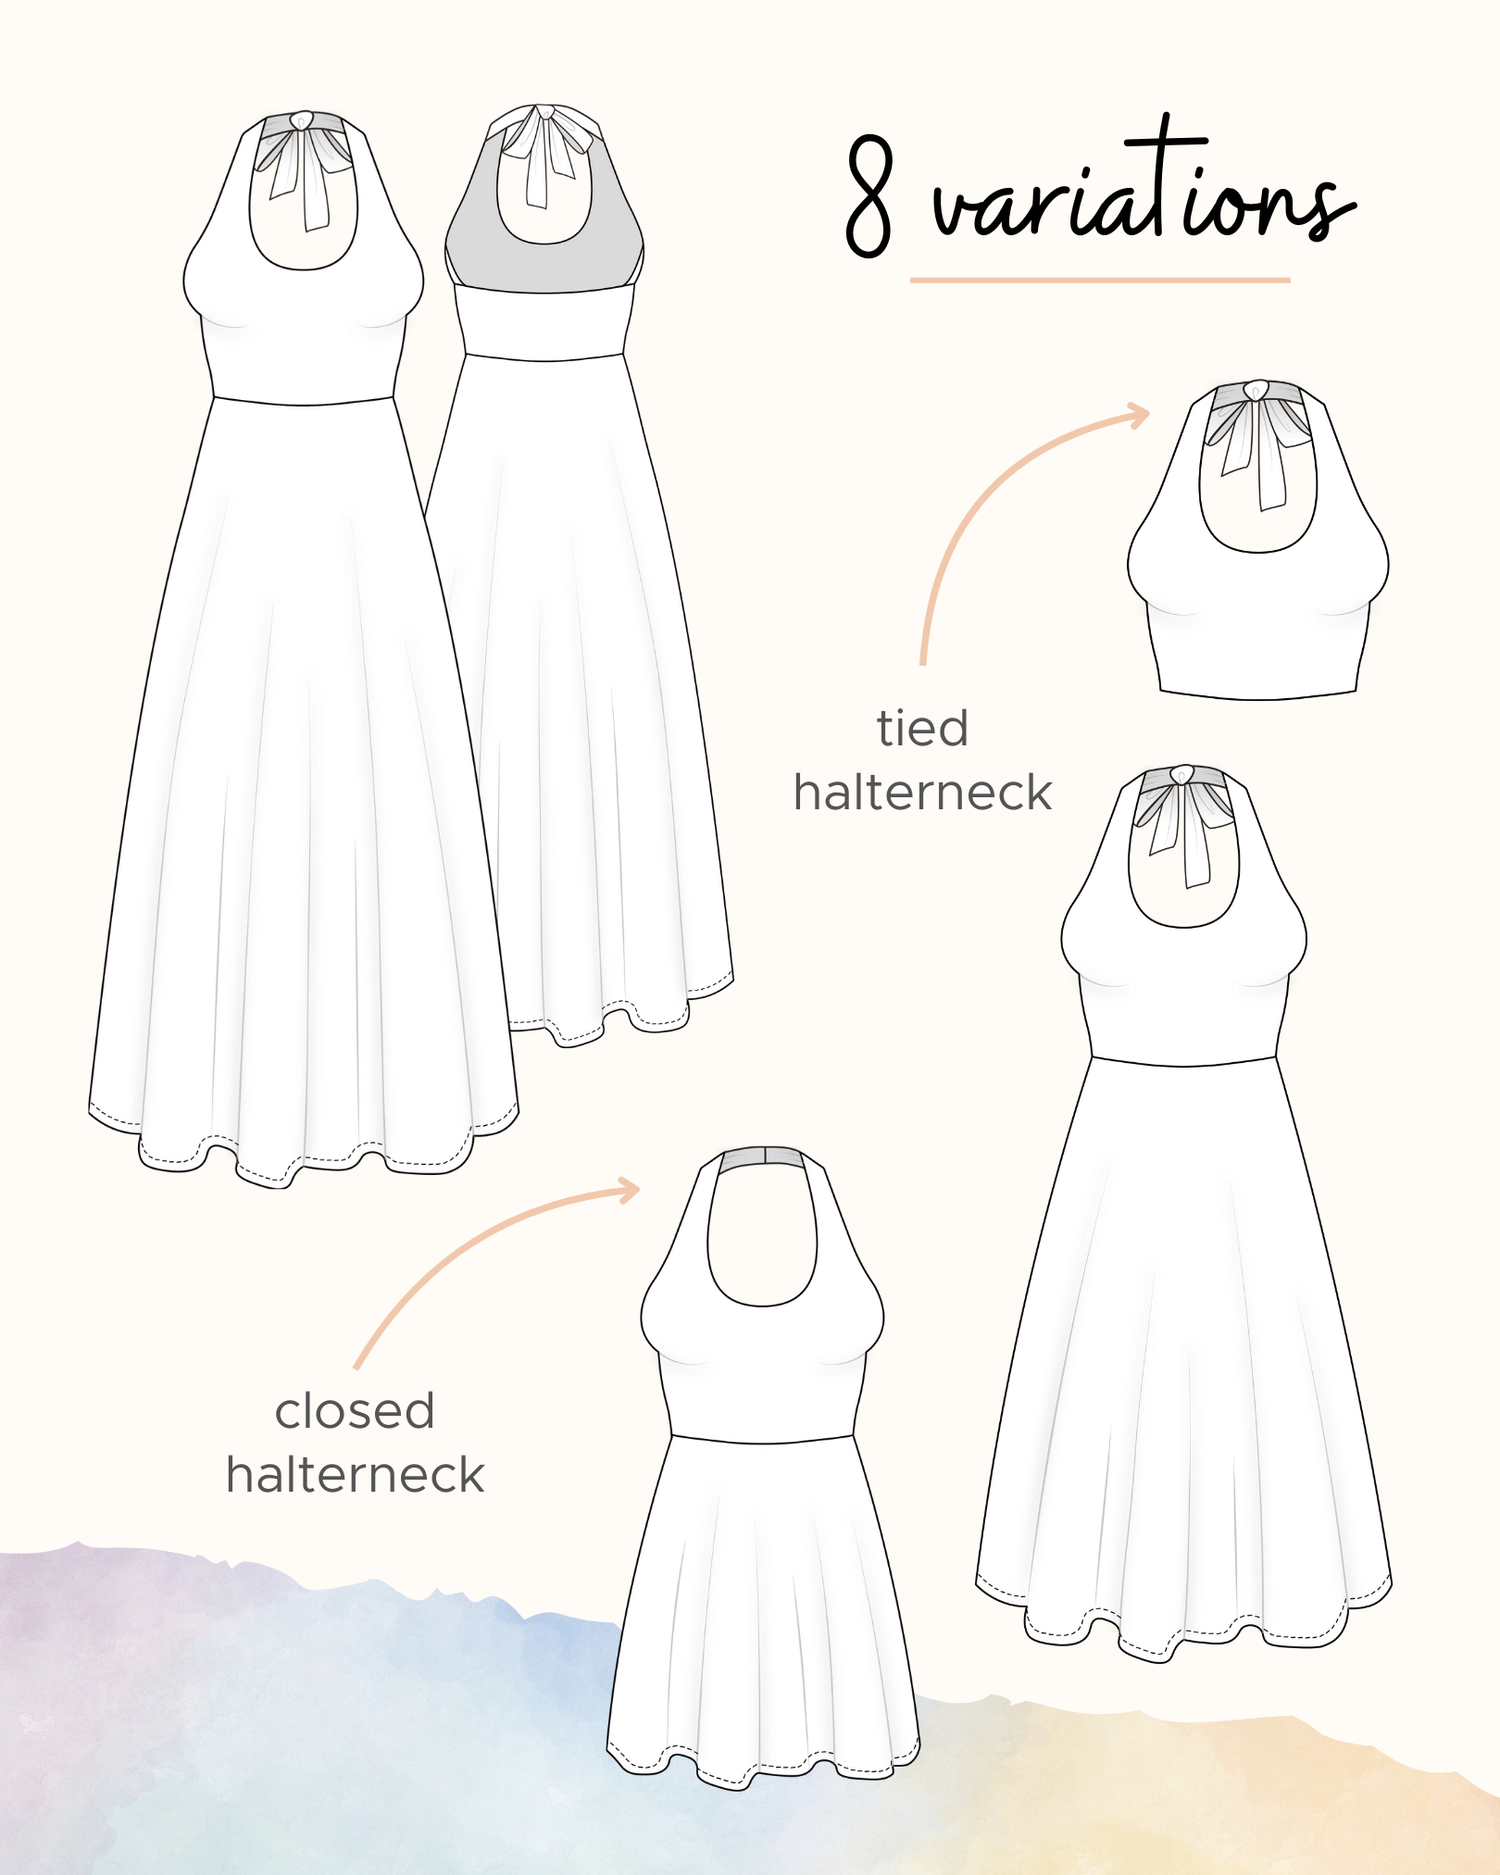
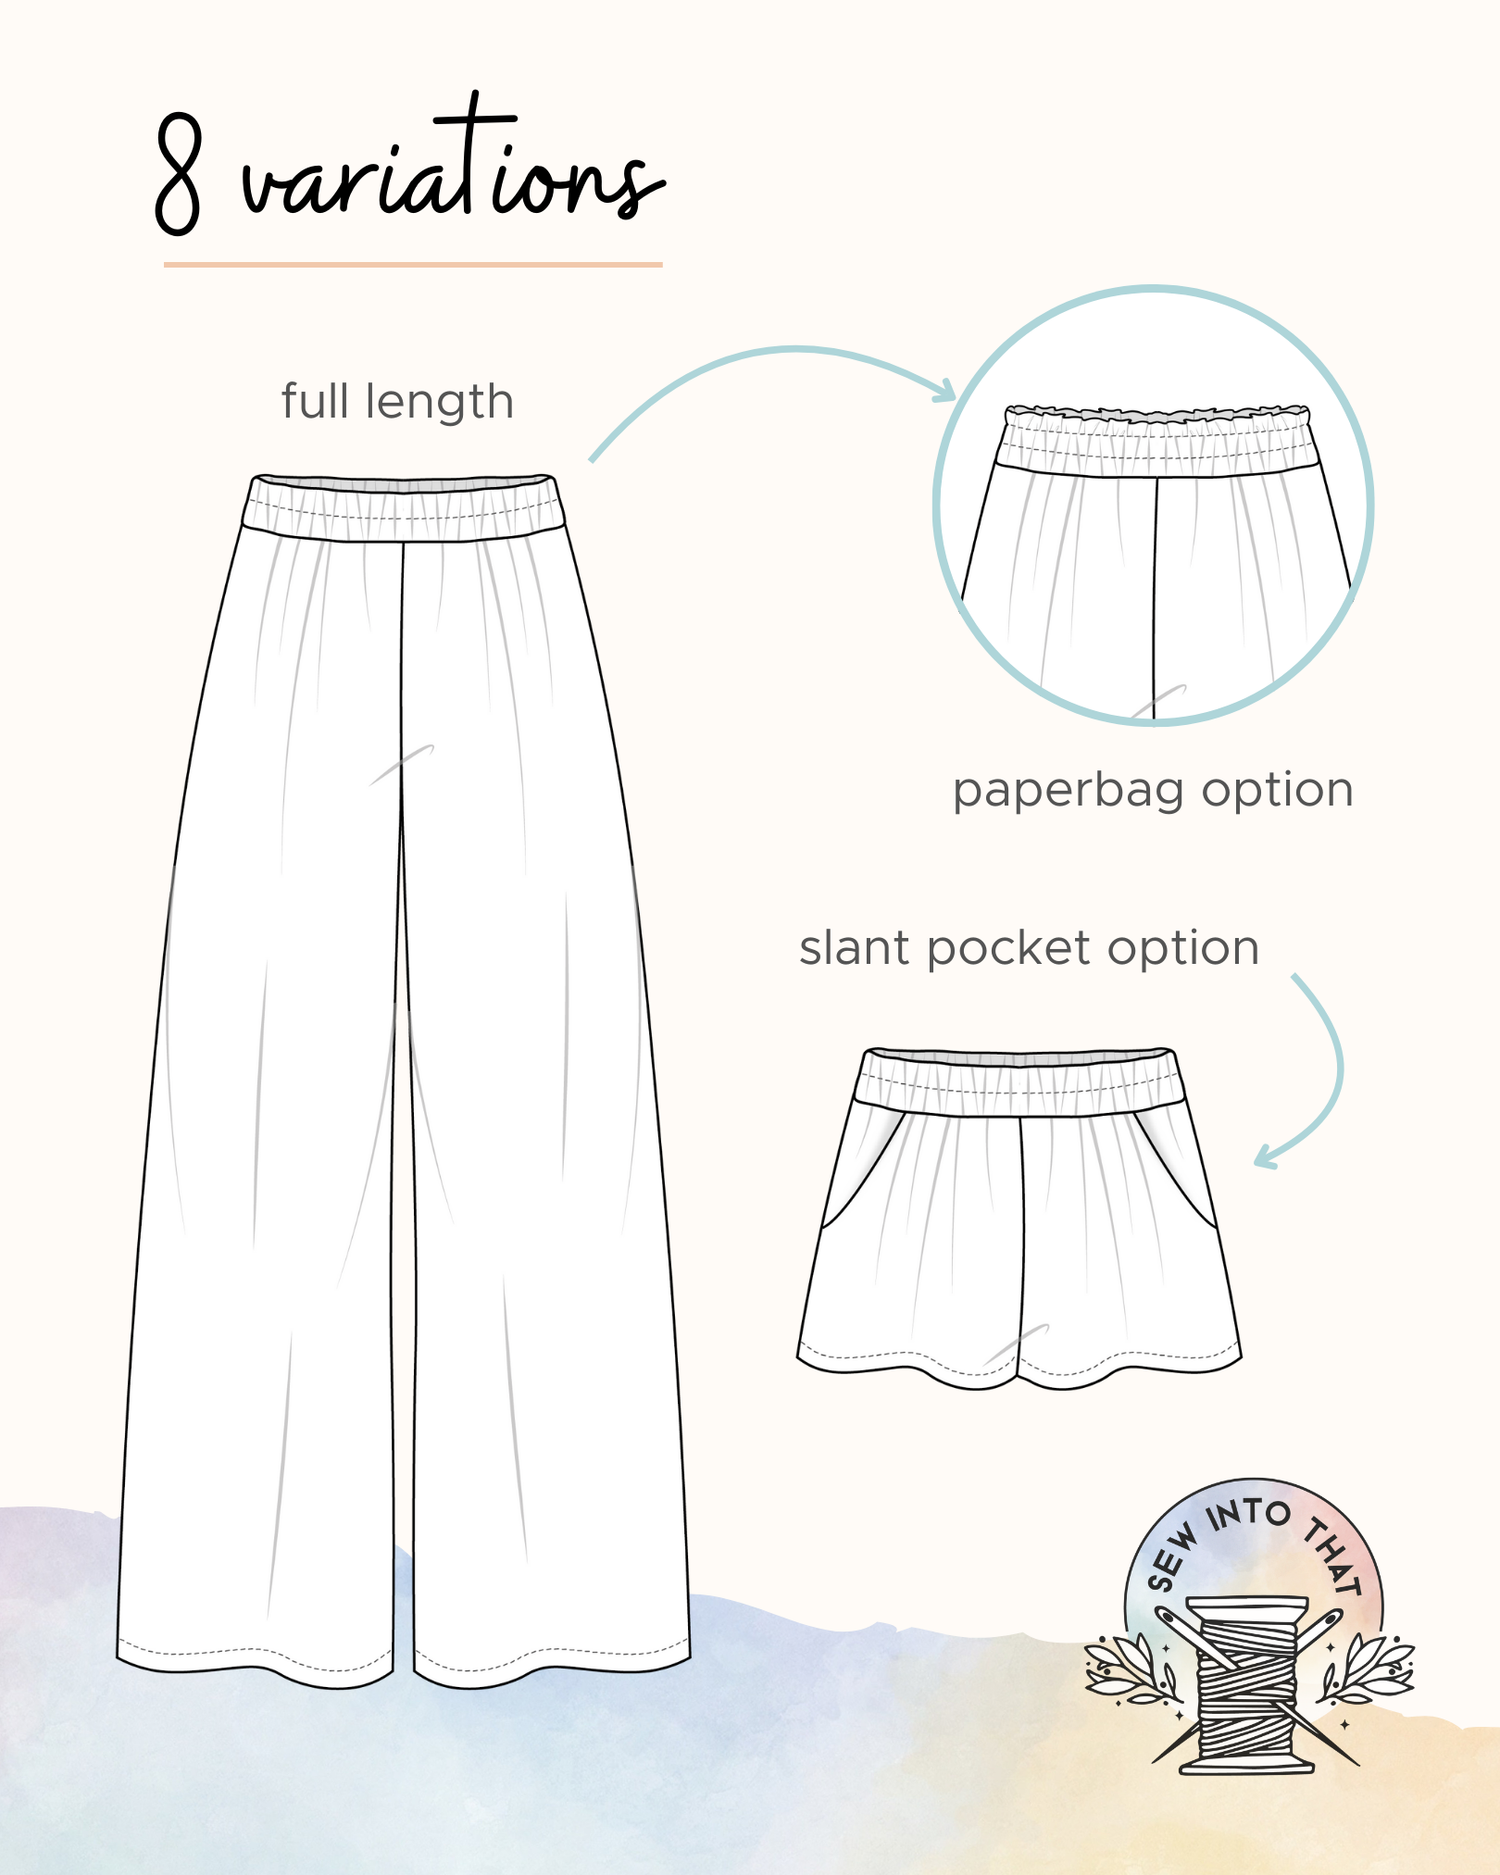
These beginner-friendly patterns with in-depth instructions are the perfect way to practice your skills!
Shop my best-selling PDF sewing patterns loved by modern sewists around the world. Flattering, beginner-friendly and wardrobe-ready designs.


A beginner's buying guide to sewing machines

Projector Sewing: the ultimate guide to getting started
Understitching: an essential technique for linings