Projector Sewing: the ultimate guide to getting started
If you're tired of printing and taping together PDF paper patterns, projector sewing is just the thing you need!
Get 30% off your first purchase ⬇️
Subscribe to the newsletter!


If you're tired of printing and taping together PDF paper patterns, projector sewing is just the thing you need!
If you’re tired of printing, cutting, and taping together endless pages of A4 pattern sheets, projector sewing might just be your new favorite sewing hack. Imagine projecting your digital pattern directly onto fabric—no paper, no tape, no fuss.
In this guide, you’ll learn everything you need to get started with projector sewing: what projector to buy, how to calibrate it, which patterns work best, and what to expect as you get used to this game-changing technique.
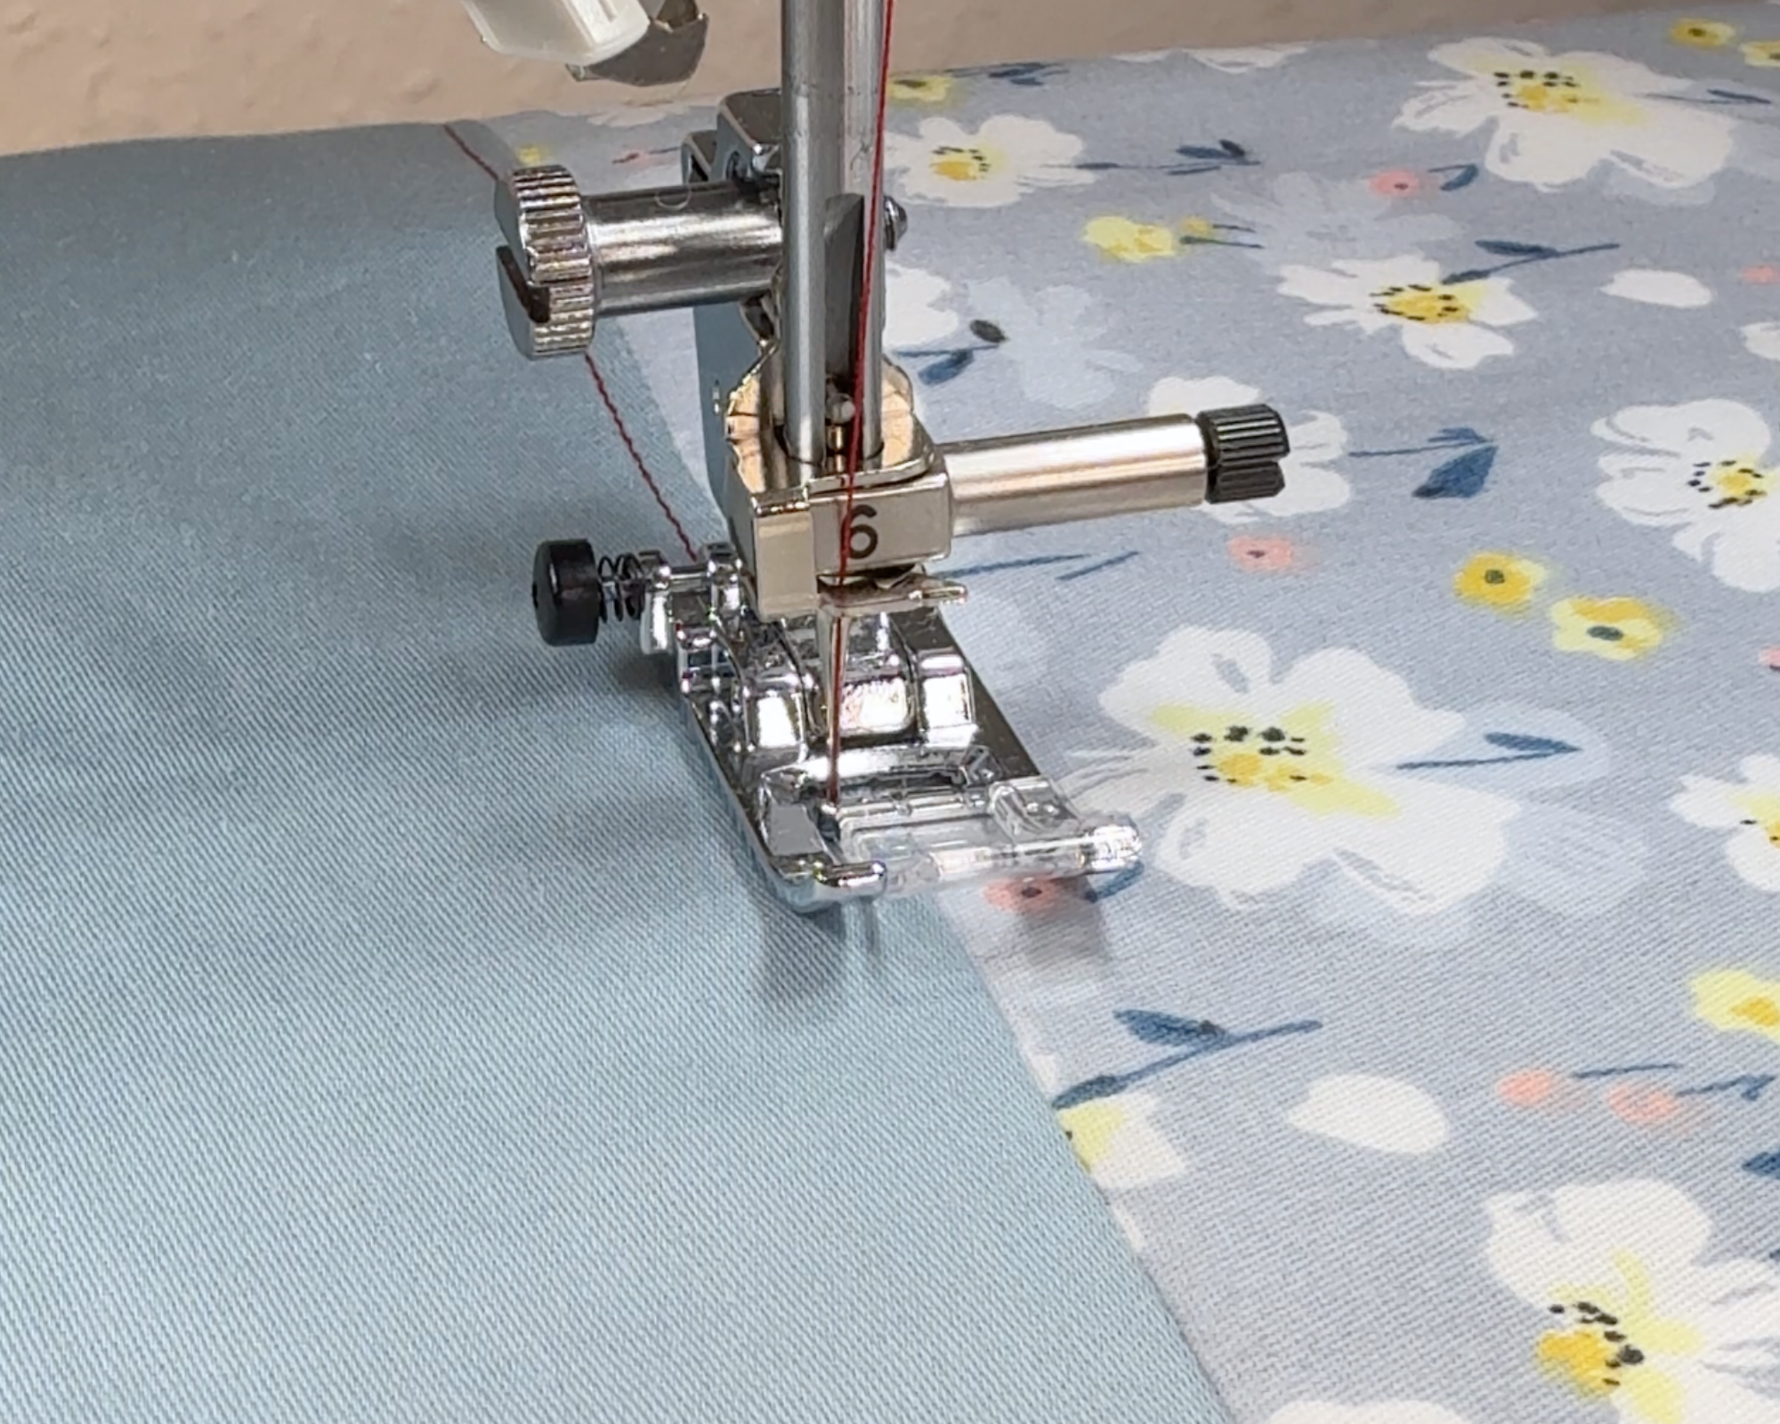
Projector sewing works by connecting your projector to your computer or tablet (like an iPad), either via a wired cable or Wi-Fi. Your device’s screen is then mirrored through the projector onto your cutting surface. When you open your PDF sewing pattern, the projected image shows the pattern outlines at full scale — ready for you to cut directly from the fabric. This means you can skip printing entirely and cut your pieces right from the projected pattern, as long as your projector is properly calibrated.
There are two main types of projectors used for sewing: regular and ultra-short throw. Each has its own pros and cons depending on your sewing setup and budget.
 |
 |
|
MagCubic Regular Projector Available on Amazon for ~30-40 EUR |
Epson Ultra Short Throw Projector Available second hand for ~100 EUR |
| Pros | Cons |
|
✅ More affordable (ranging from €40–€90 on Amazon) ✅ Could be a good way to make your first steps with projector sewing |
❌ Not suitable for small spaces: must be setup at a big distance from the cutting table (1.5m–2m away) to get a big enough projection ❌ Require mounting from a wall, ceiling or shelf. Tripod mounting can be too instable. ❌ Prone to casting shadows if your body or tools block the light path. |
| Pros | Cons |
|
✅ Can sit just 30–50 cm away from your cutting surface (or even propped on a table) and reach beyond A0-sized projection surface. ✅ Minimal shadows or interference while cutting. ✅ Perfect for smaller sewing spaces or multipurpose rooms. |
❌ More expensive that regular entry-level projectors (second hand models start at €100+, new models are often unaffordable). |
👉 Tip: If you’re just getting started, a regular ceiling-mounted projector gives OK results for the price, as long as you're installing it at the required 1.5-2 meters. Once you’re fully converted, upgrading to an ultra-short throw feels like pure luxury.
In other words: how can you make sure your pattern is at scale? Calibrating your projector is a necessary step to ensure that your pattern pieces appear at the correct size on your fabric.
Do you need to calibrate every time you use the projector?
If your projector is permanently mounted and does not budge, calibration only needs to be done once. If — like me — you only take your projector out when needed (and stow it elsewhere when you're not using it), you need to calibrate it before each use. Lucky this only takes 2 minutes!
How to calibrate
The easiest way to do this is by using the free calibration tool from PatternProjector.com.
Here’s how:
Once calibrated, your projector will remain accurate unless it’s physically moved.
Why I love this tool:
It not only calibrates your projector but also gives you full control over your projection. You can easily adjust line thickness, invert pattern pieces, rotate the projection, and even change contrast or colors to make your pattern lines stand out on different fabrics. It’s incredibly intuitive and lets you fine-tune the visibility of your pattern for any setup or fabric tone.
 |
 |
| First step: enter your cutting mat dimensions and align the grid corners | Second step: project the pattern, select your layers and change contrast & line width. Shown here: Manila Bodycon Dress |
The short answer: all your PDF digital sewing patterns! So if you're wondering whether your current collection of PDFs will survive the switch to projector — rest assured: using the Pattern Projector tool, you can use all of them. But just so you know: some files and formats are better suited and more optimized than others. Let's break them down below!
The only caveat is that for both file types, the pattern pieces will usually not be unfolded, requiring you to "cut on fold," which is slightly trickier when using a projector.
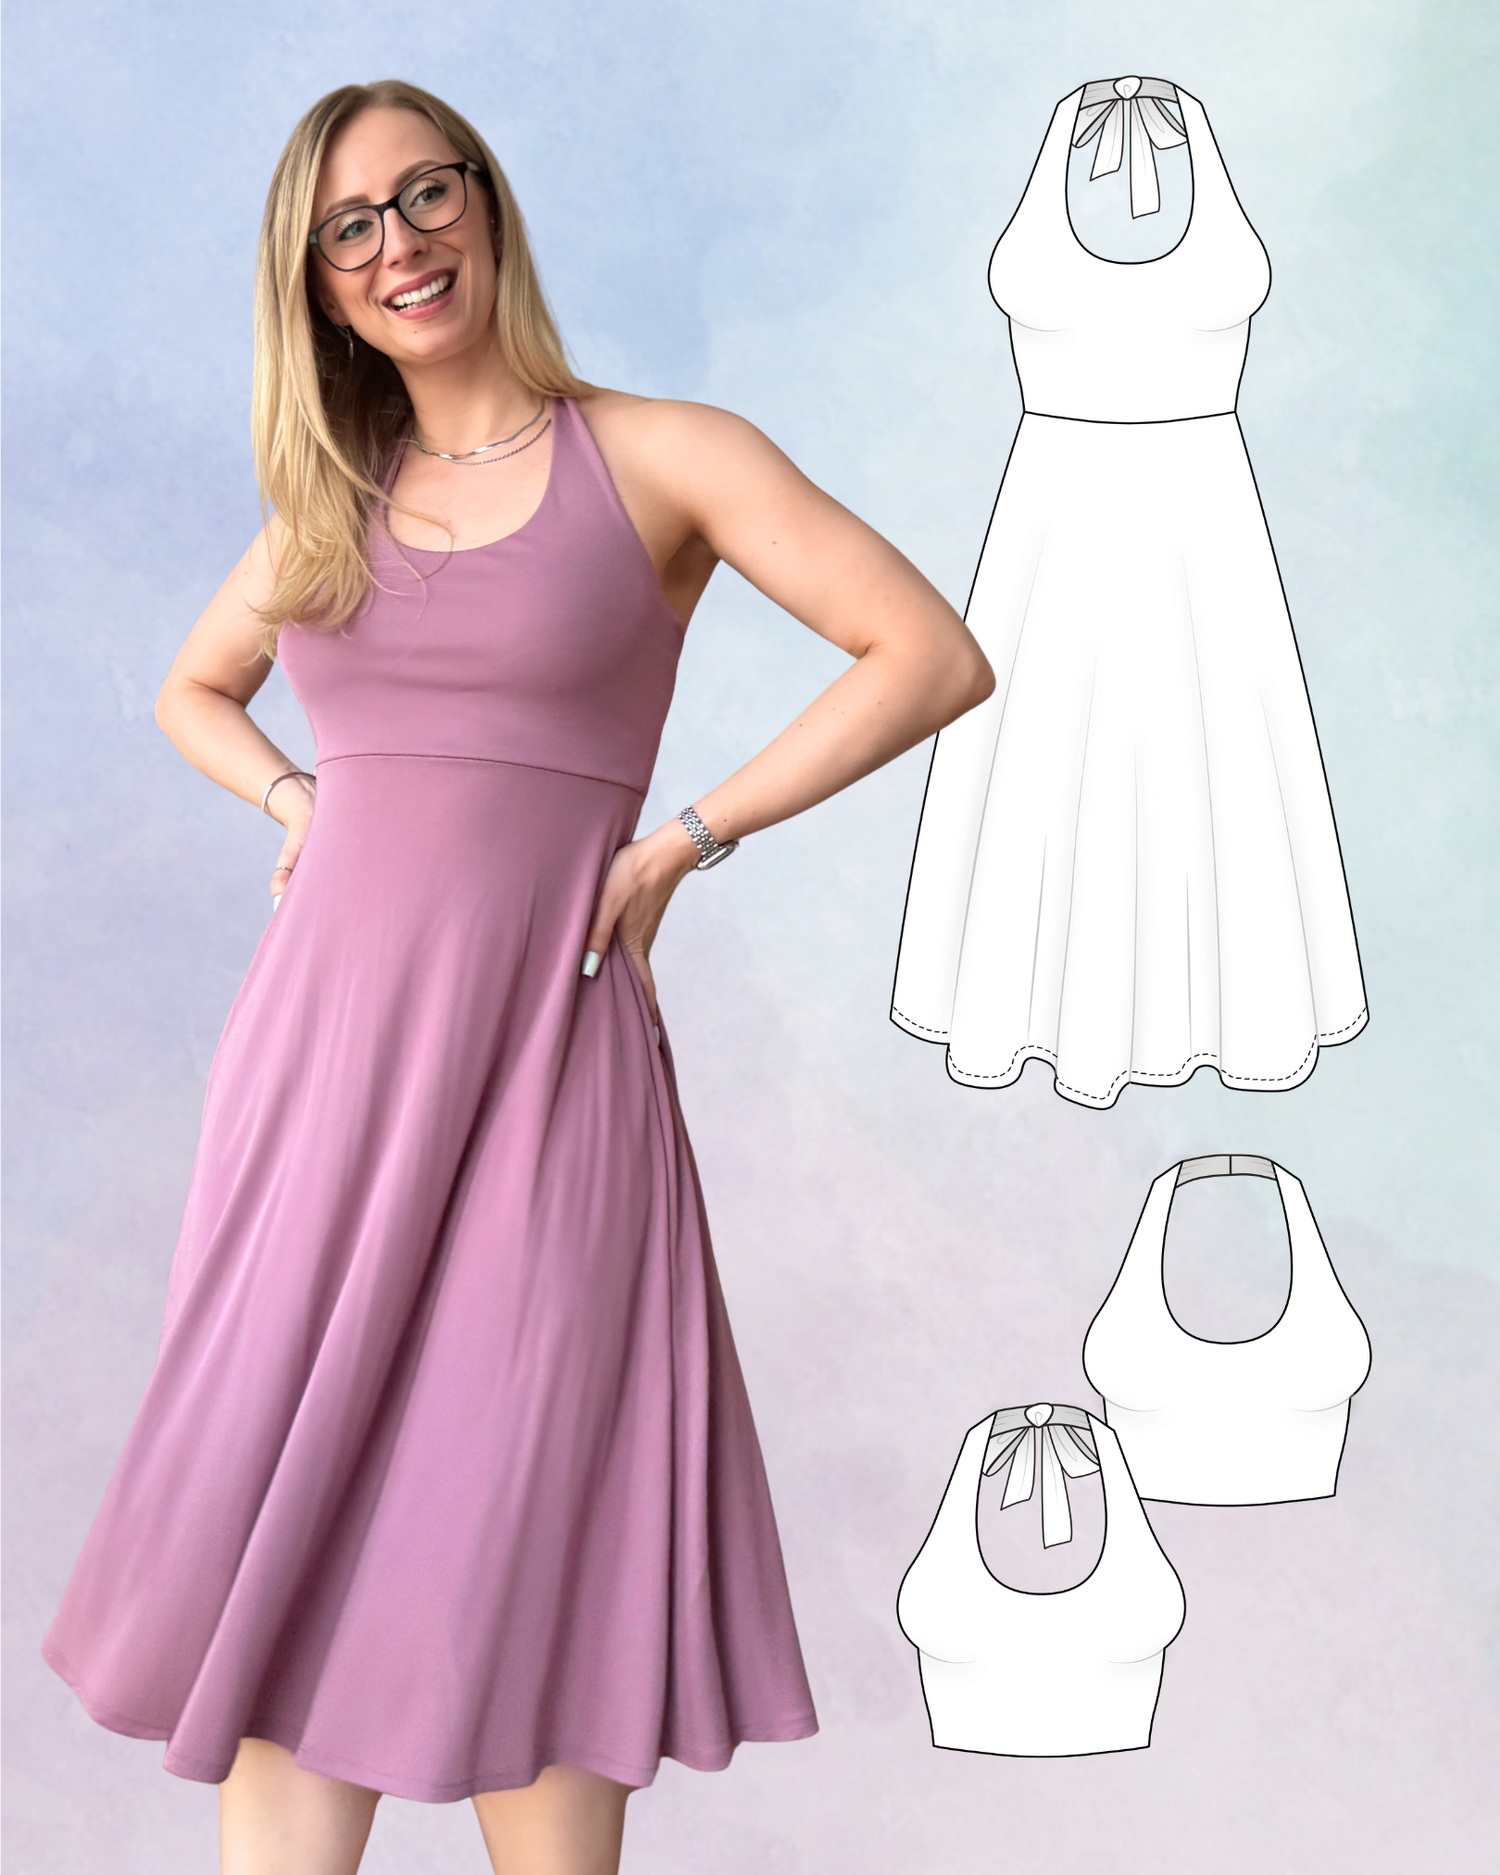
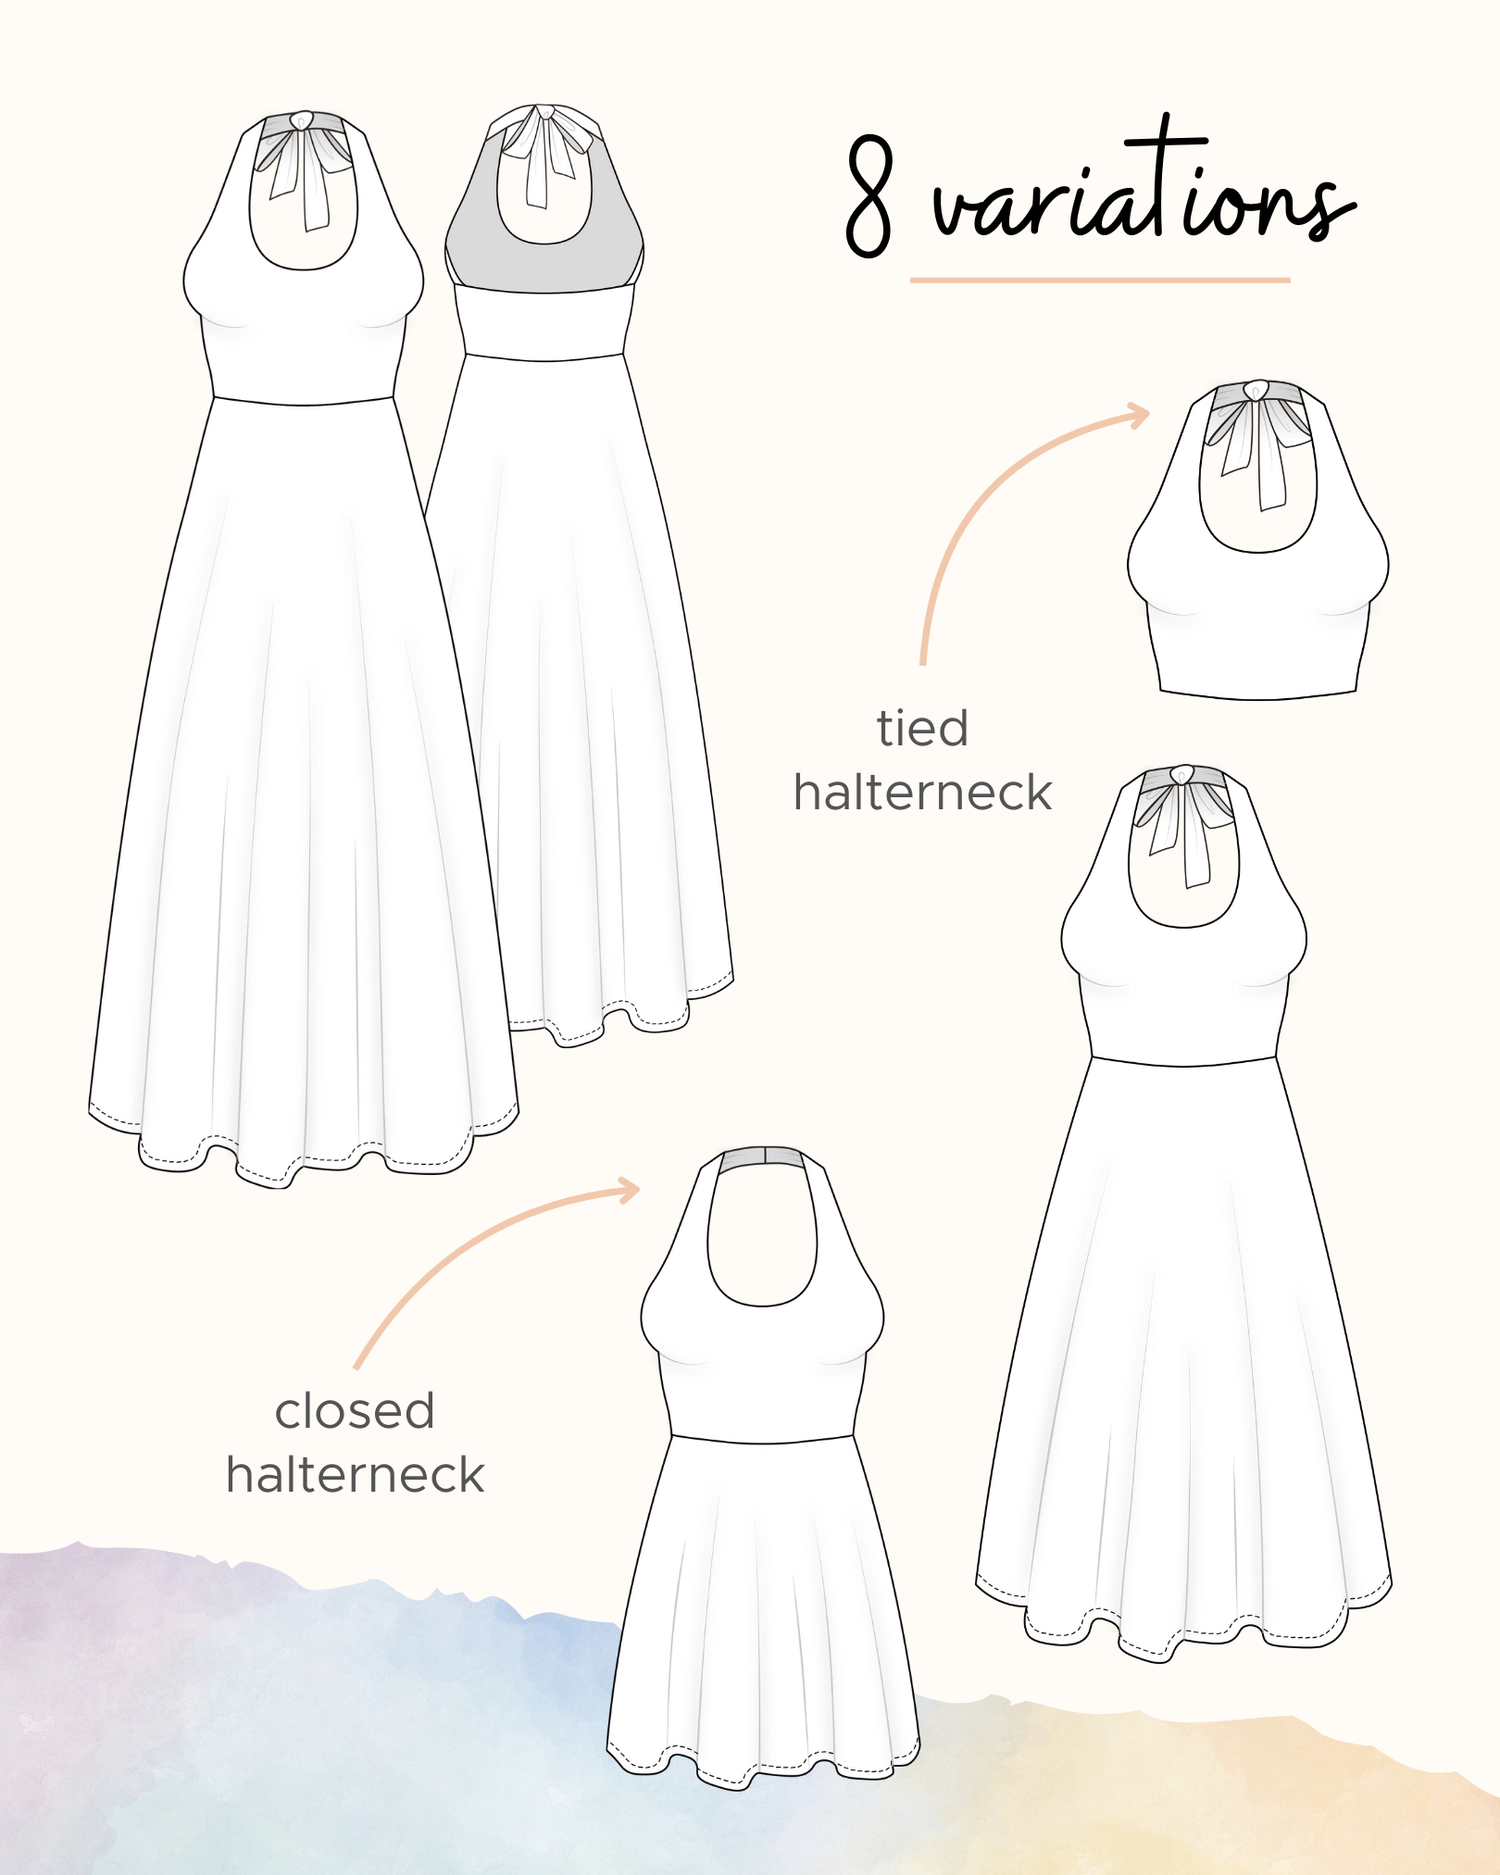
Projector-optimized files are the be-all and end-all: Some pattern designers now include specially designed files for digital projection. On top of including the basics (thicker lines, large fonts, clear grainlines, and layers for grading between the lines), you will also notice that special projector patterns have different layouts making it easier for you to plan your fabric layout according to the grainline.
💡 At Sew Into That, every pattern includes a Projector-Optimized file. That means: larger, high-contrast lines for visibility. Grainlines, notches, and text positioned for easy cutting. All pattern pieces positioned unfolded along the grainline. And built-in calibration layers in INCH and CM are included.
Switching from paper to projection takes a few sessions to feel natural—but it’s worth it. Here’s what most sewists notice at first:
With a bit of practice, you’ll find projector sewing faster and more precise than printing ever was.
| Printing Patterns | Projector Setup |
Total: €250–€350/year |
Total: ~€200 one-time cost, for an unlimited number of patterns and sizes |
To me, looking at these numbers means that your projector setup pays for itself in about a year — and saves you time every single project after that. Let's also not forget the practicality of not having to store tons of paper patterns in folders (and then having to iron them flat again), as well as the convenience of being able to instantaneously sew whichever size you want (not just the one you initially printed!)
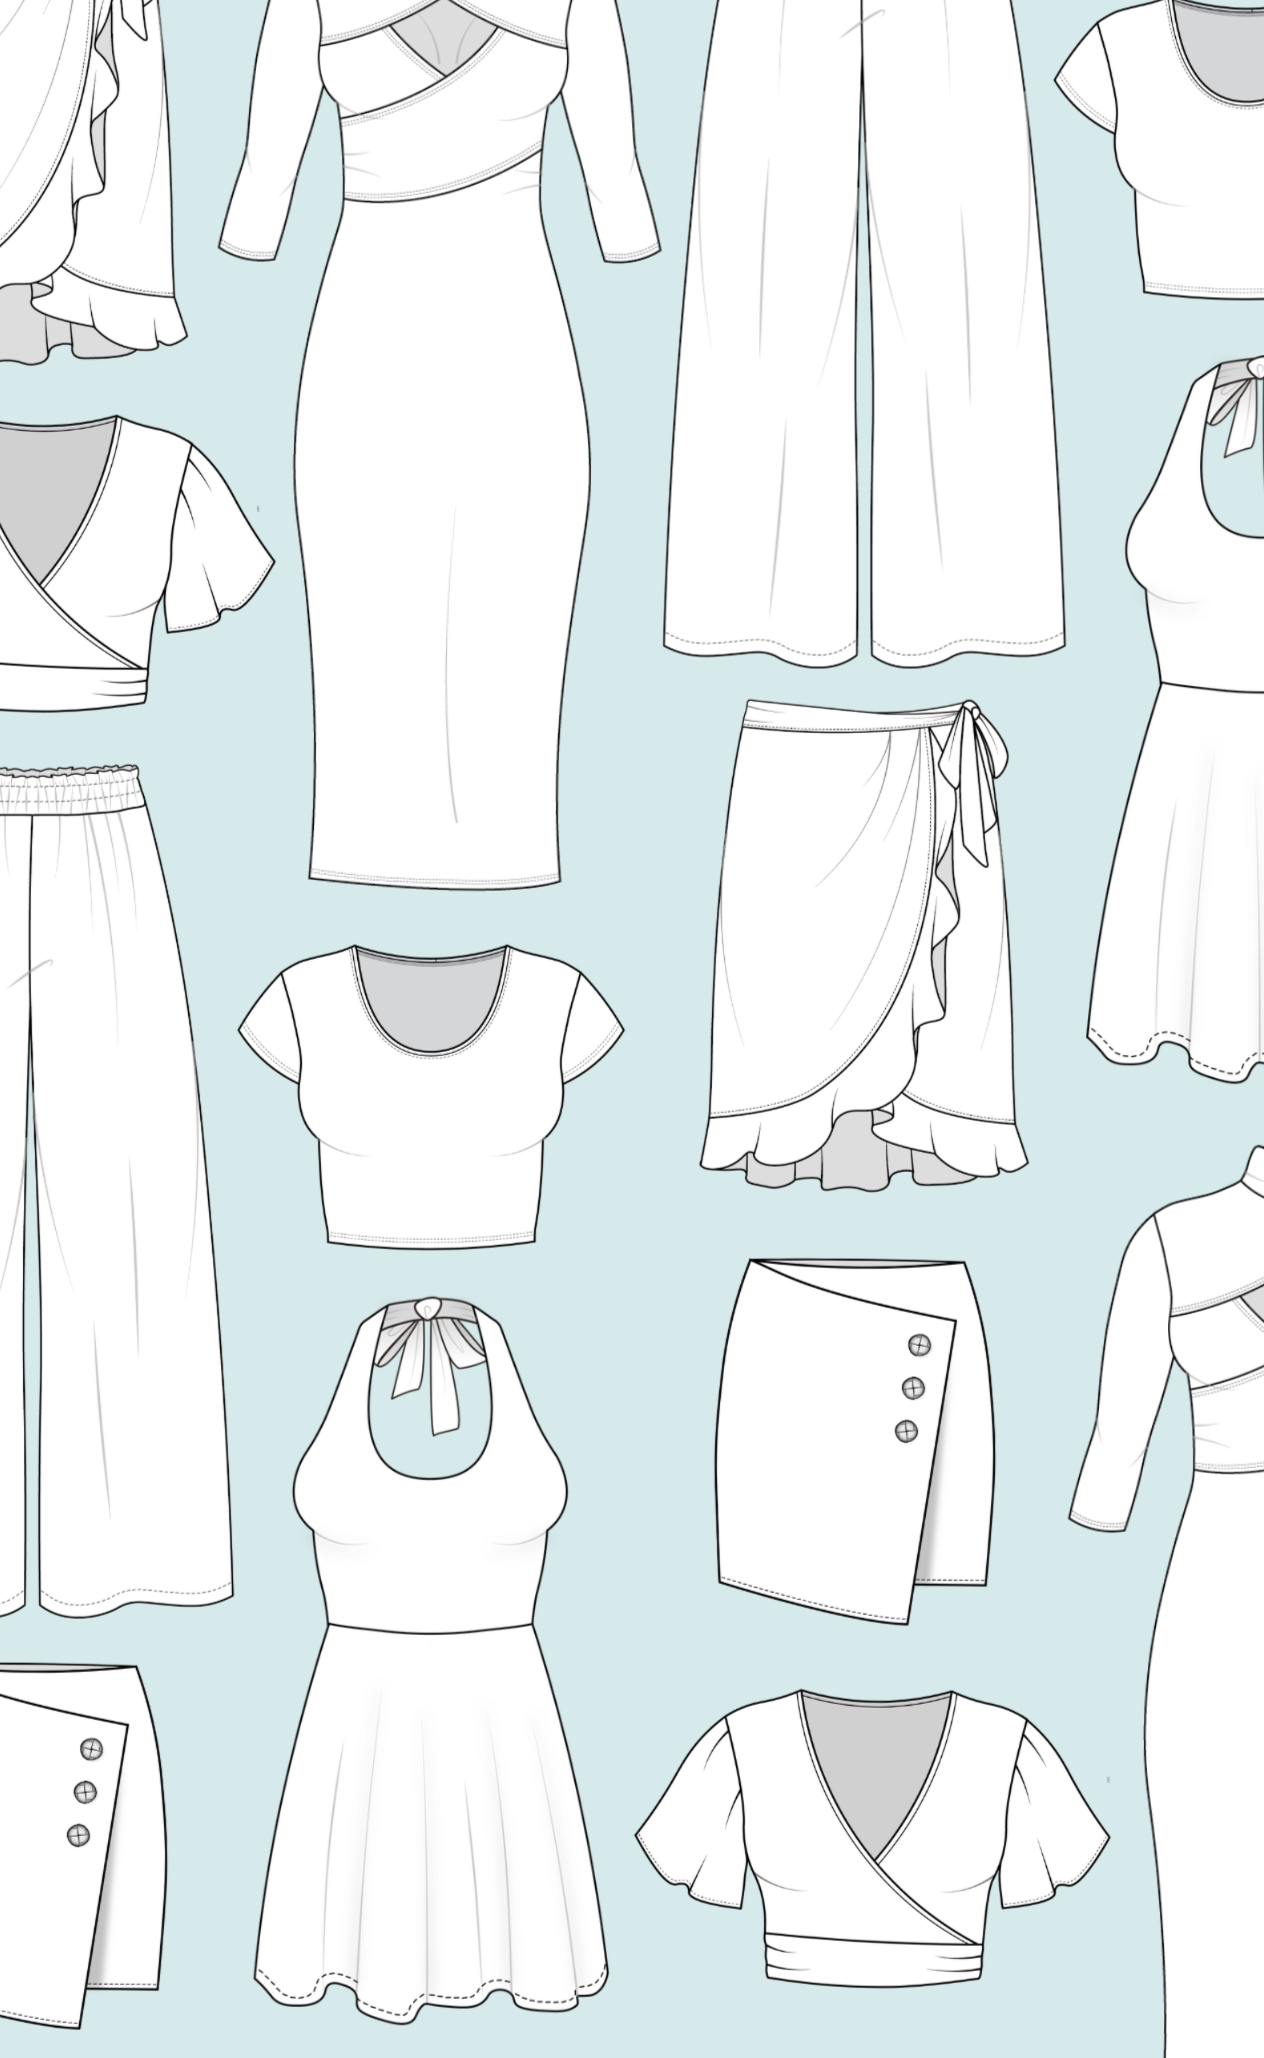
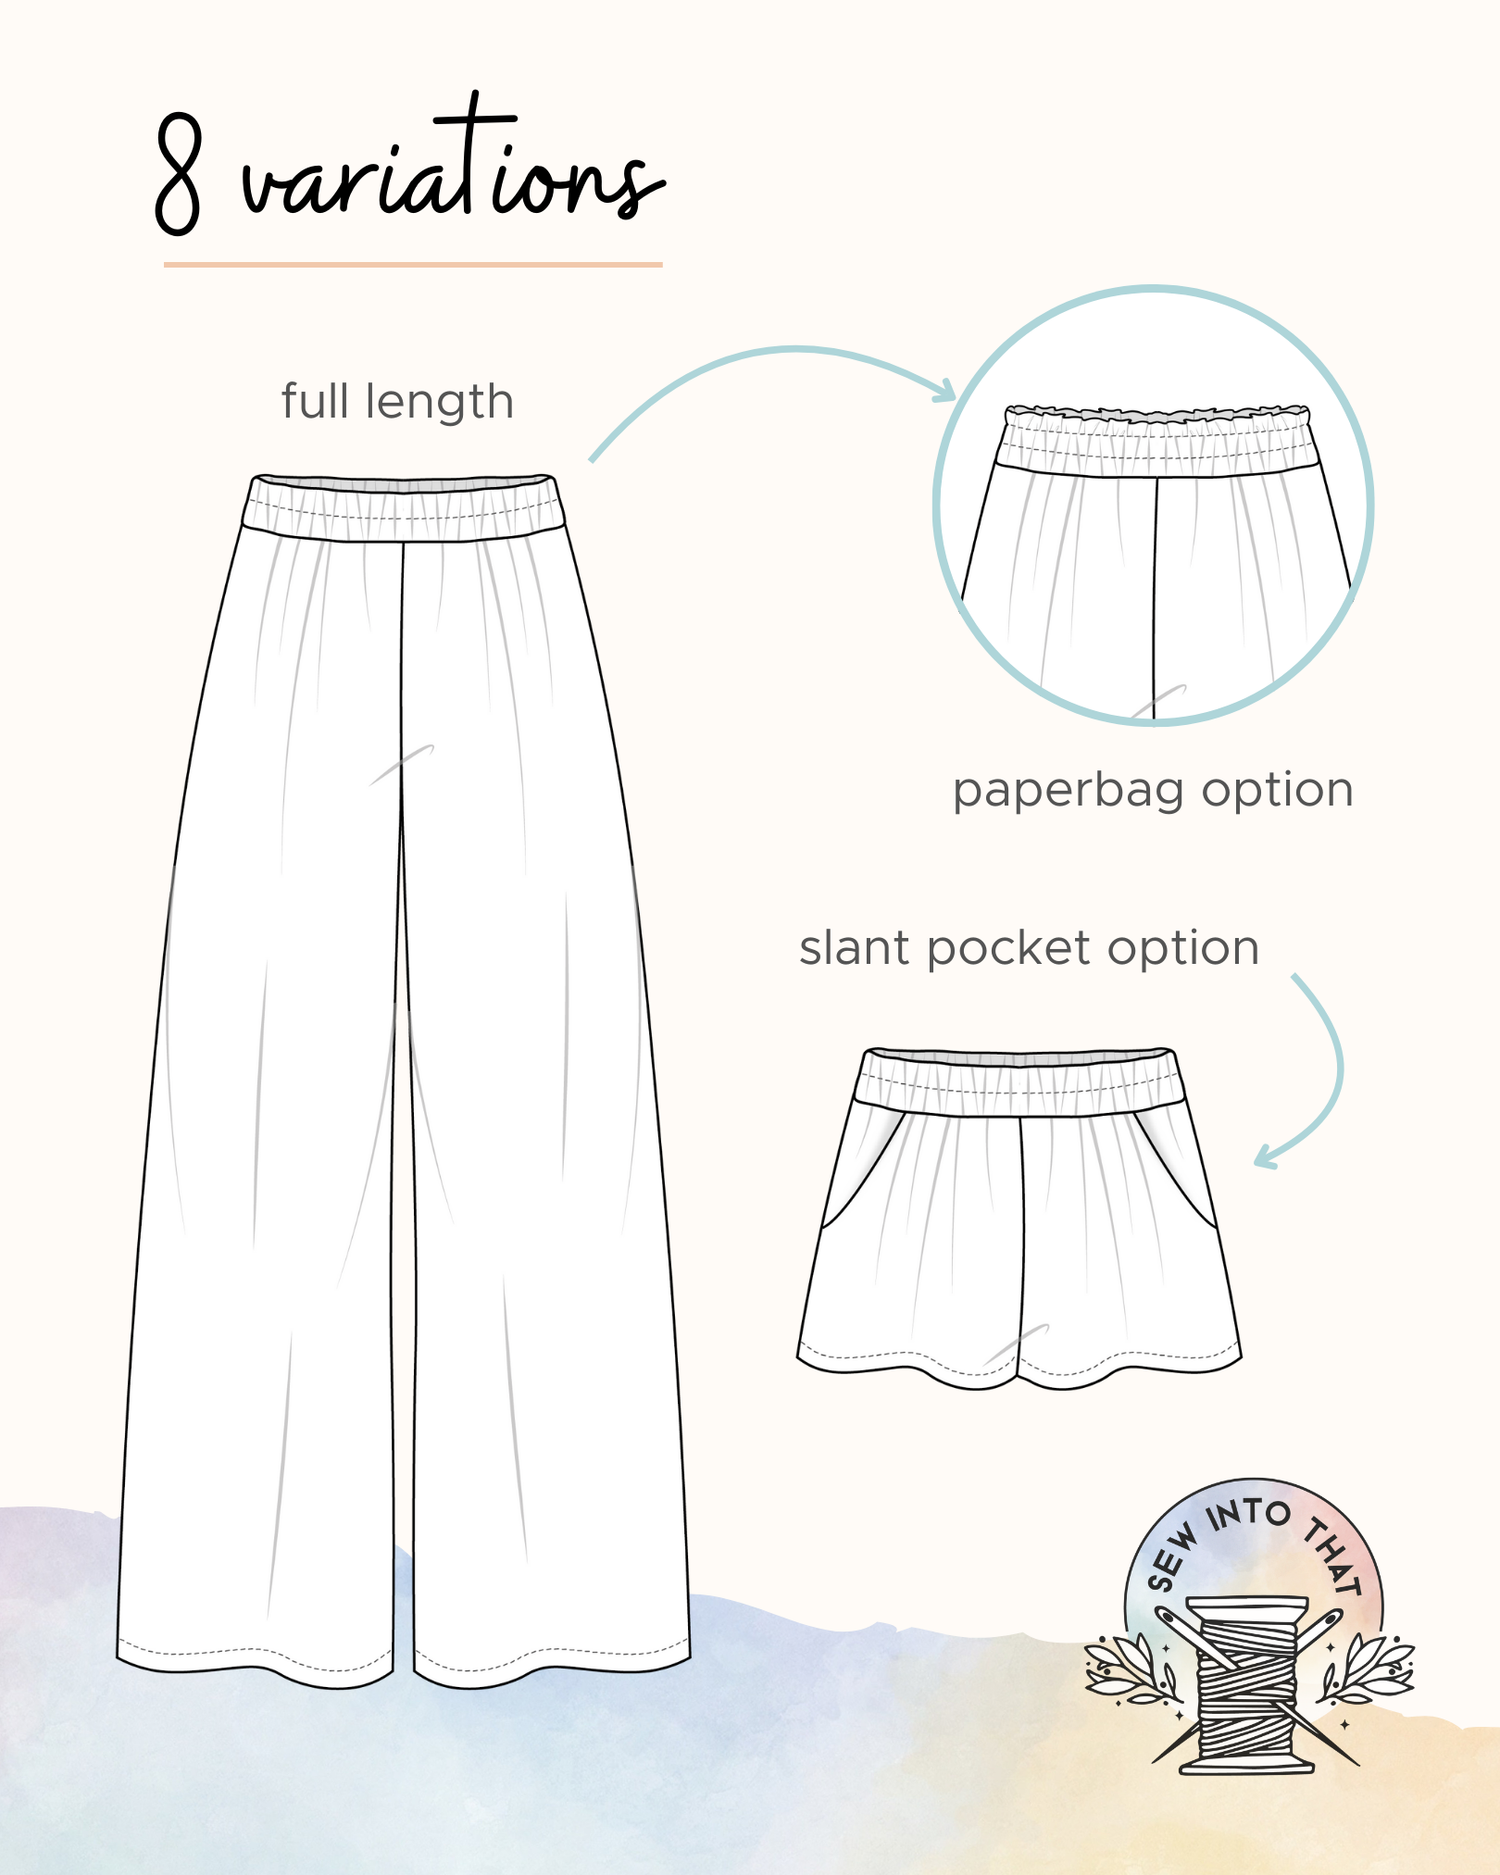
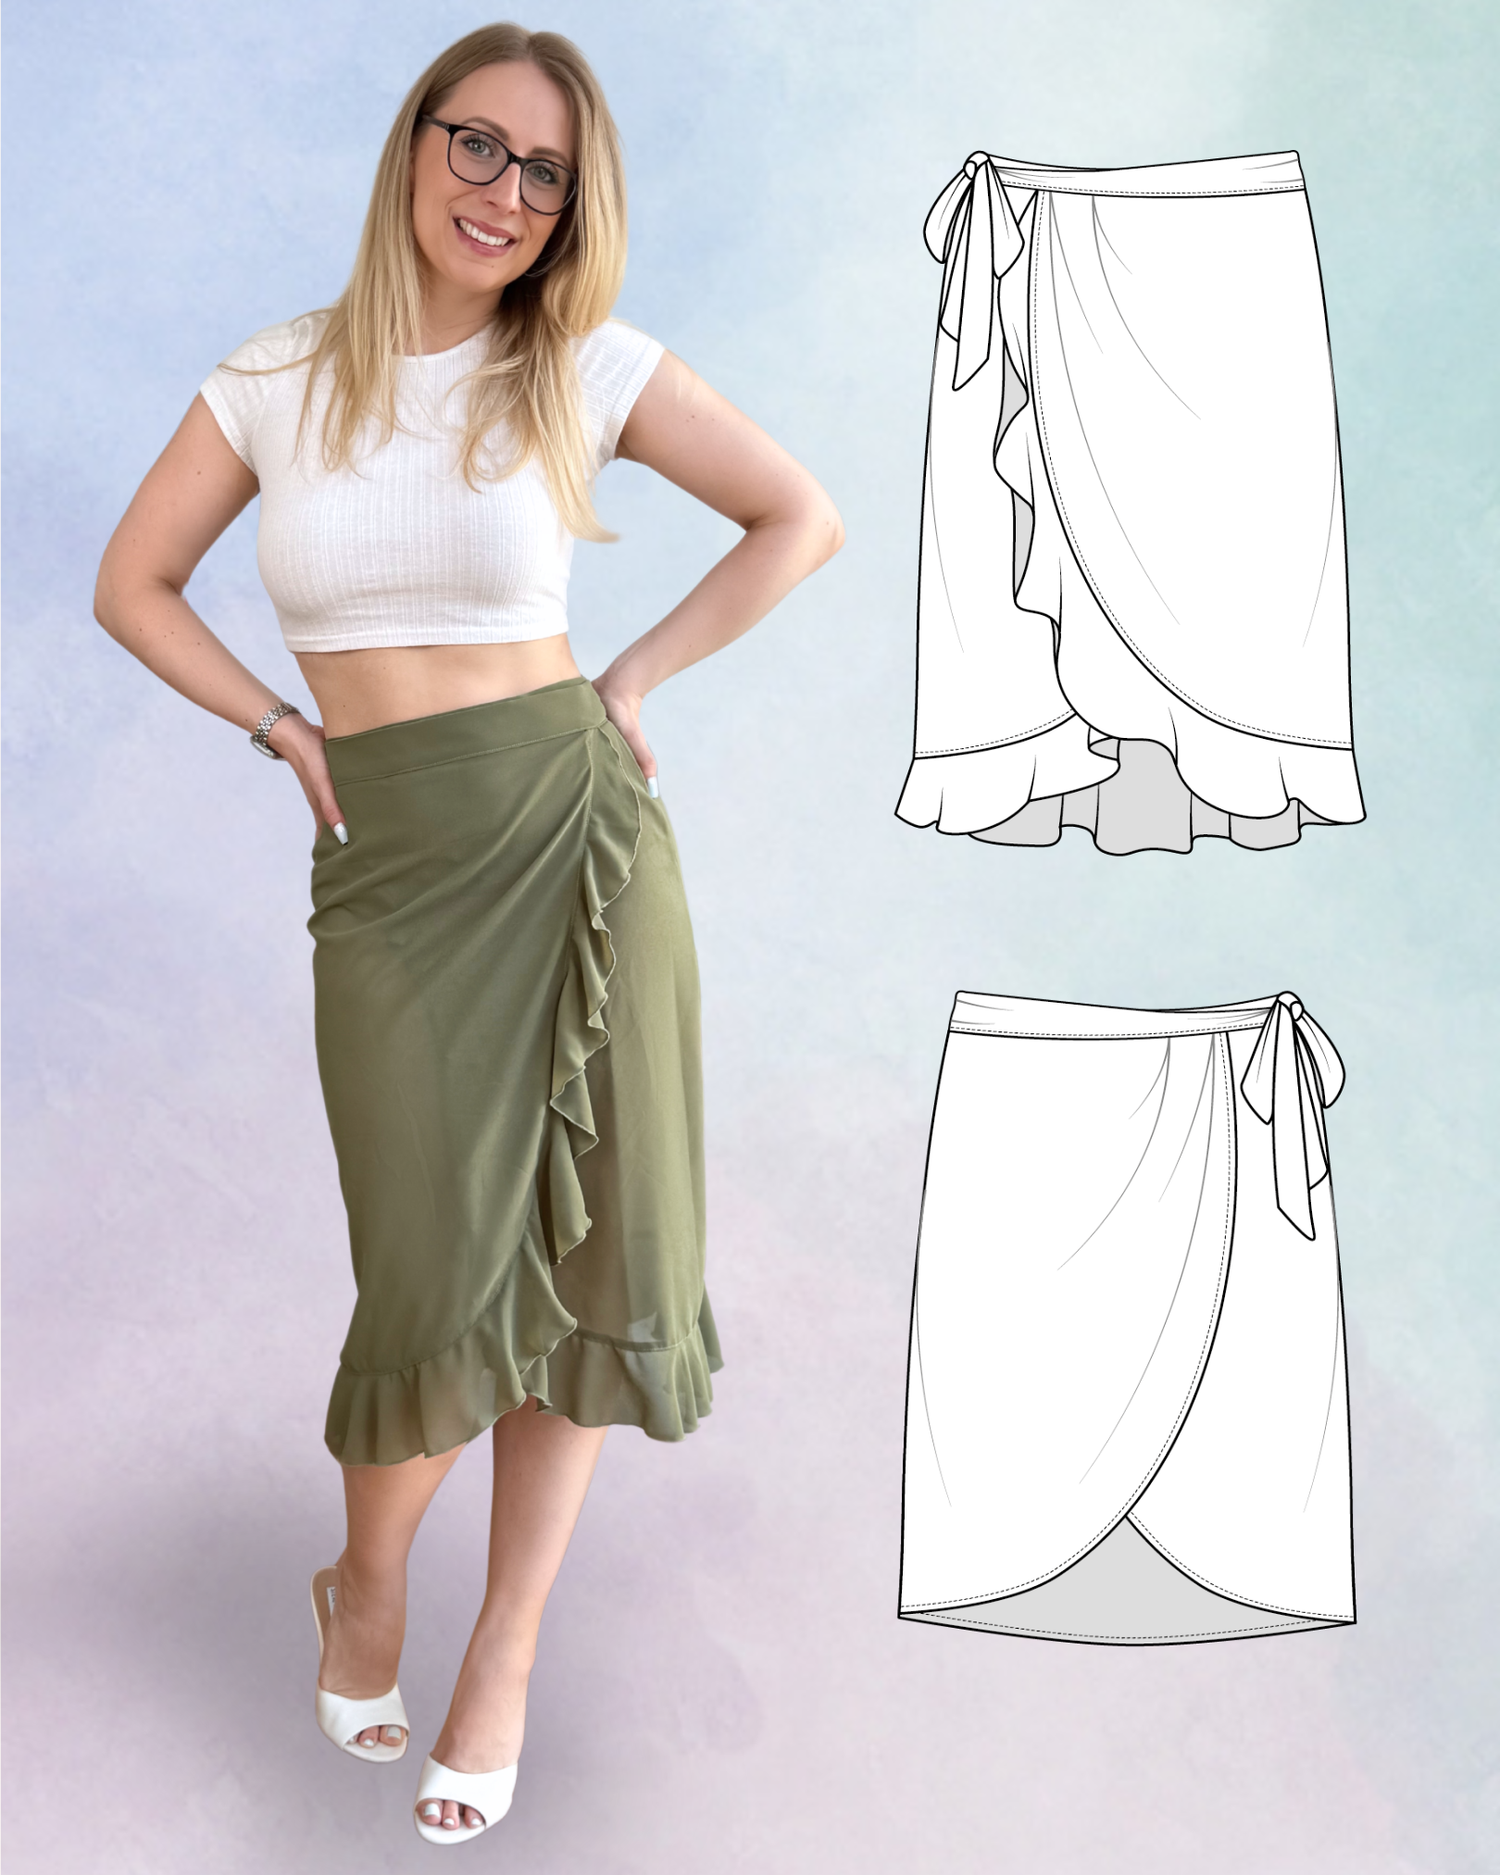
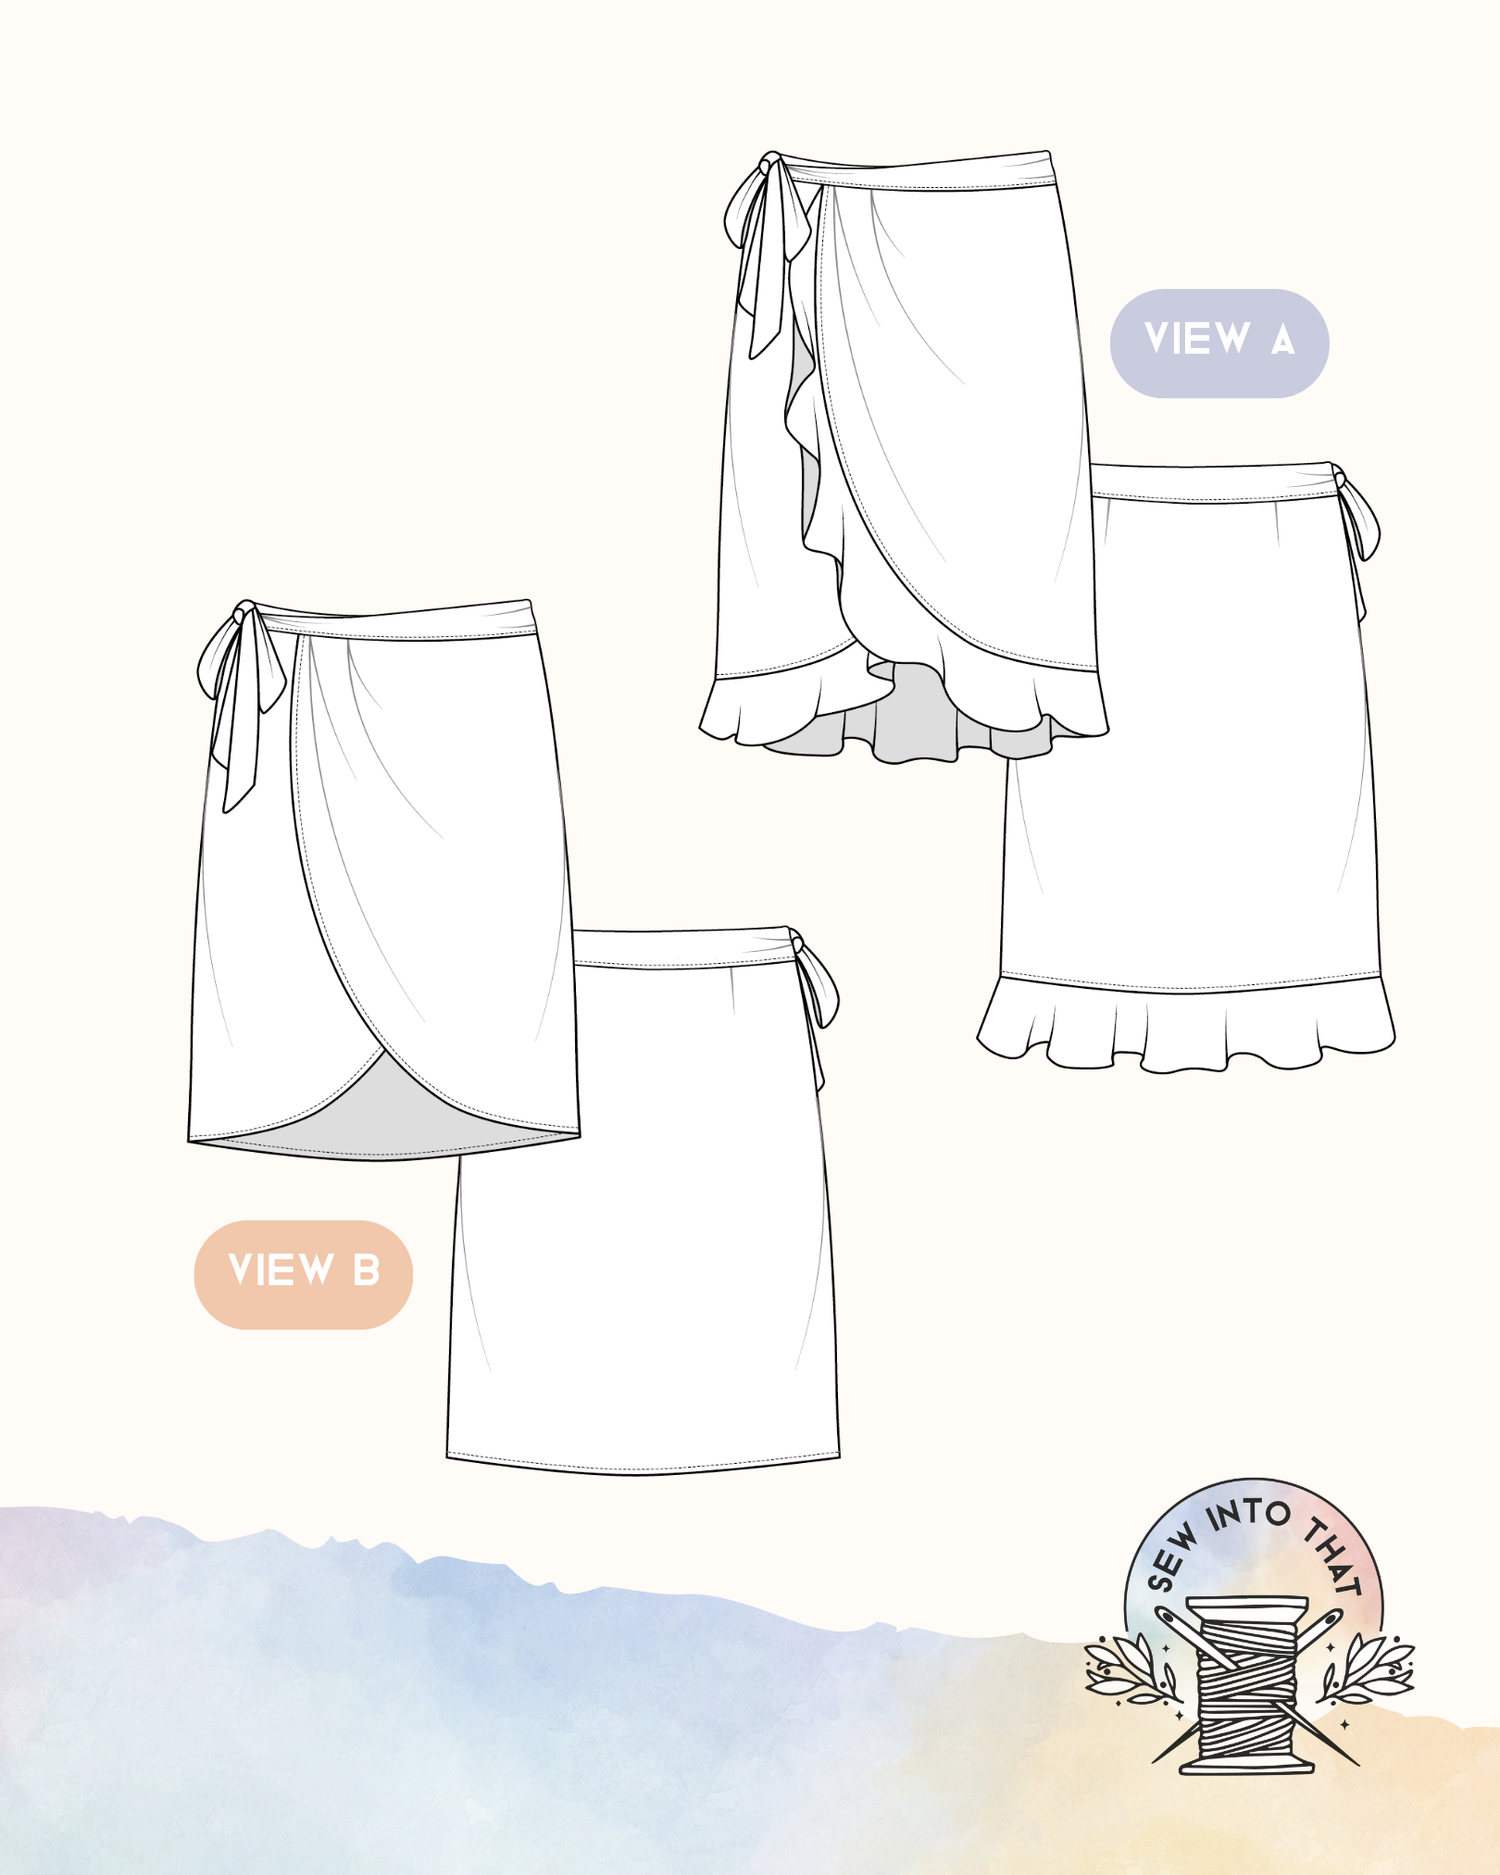
All Sew Into That sewing patterns include Projector-Optimized files, so you can start projecting right away. Whether you’re cutting your next Lounge Pants, Mini Skirt, or your new Basic Fitted Top, you’ll enjoy the convenience of a faster, smoother setup.
👉 Shop projector-ready sewing patterns and make the switch today!
And in case you're still "team paper patterns", I'd love to shamelessly plug my Sewing Pattern Organizer template. This is a handy printout allowing you to print cute labels on your envelopes to store your patterns in the most efficient way! Enjoy!
These beginner-friendly patterns with in-depth instructions are the perfect way to practice your skills!
Shop my best-selling PDF sewing patterns loved by modern sewists around the world. Flattering, beginner-friendly and wardrobe-ready designs.


A beginner's buying guide to sewing machines

Projector Sewing: the ultimate guide to getting started
Understitching: an essential technique for linings